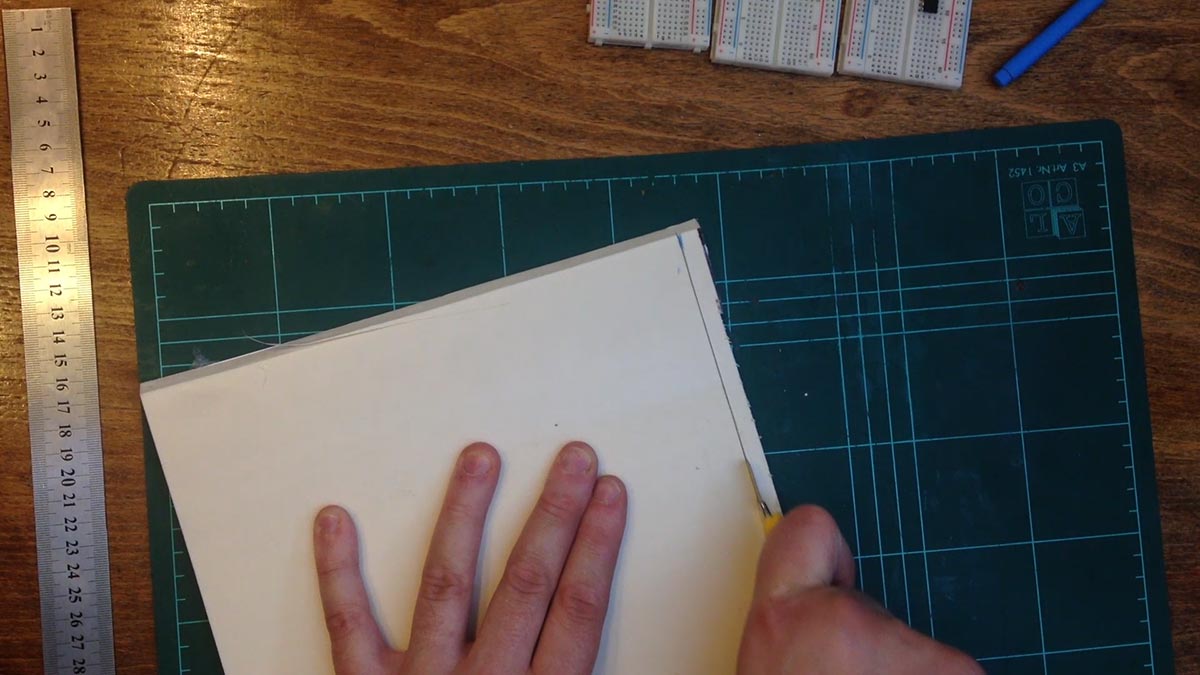
I decided to make myself a prototype breadboard by assembling some solderless boards that I bought online. I cut a piece of 8mm closed-cell PVC foamboard material that I have been eager to work with. I saw a video from Robert Murray Smith recently where he uses this material to make a laboratory balance. I further cut the piece to the final dimensions.

If you are contemplating making your own custom solderless breadboard, note that this will not likely save you any money. There are many solderless breadboards available online for around $15 – $20 shipping included.
However, if you want to customize the board to suit your needs by either creating a larger breadboard or maybe using your own design, this is a simple project that anyone can make.
The rough edges were smoothed down with some sand paper. I also cut a piece of thinner 5 mm foam board for the binding posts. This piece was temporarily stuck down with double sided tape so that I could drill pilot holes. I quickly drew a concept in SketchUp so that I could easily visualize where the binding post holes would be placed. I measured the hole placement and drilled the pilot holes.
binding posts
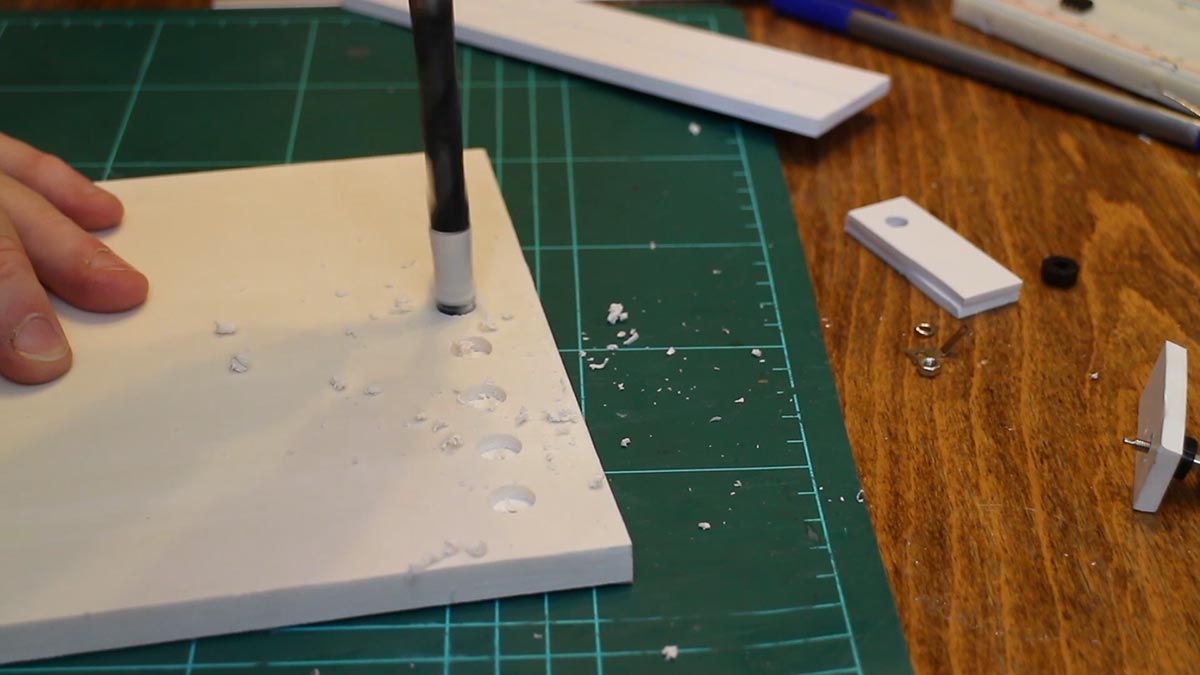
With the pilot holes drilled, it was time to unstick the top piece of foam board and begin drilling the larger final diameter holes.
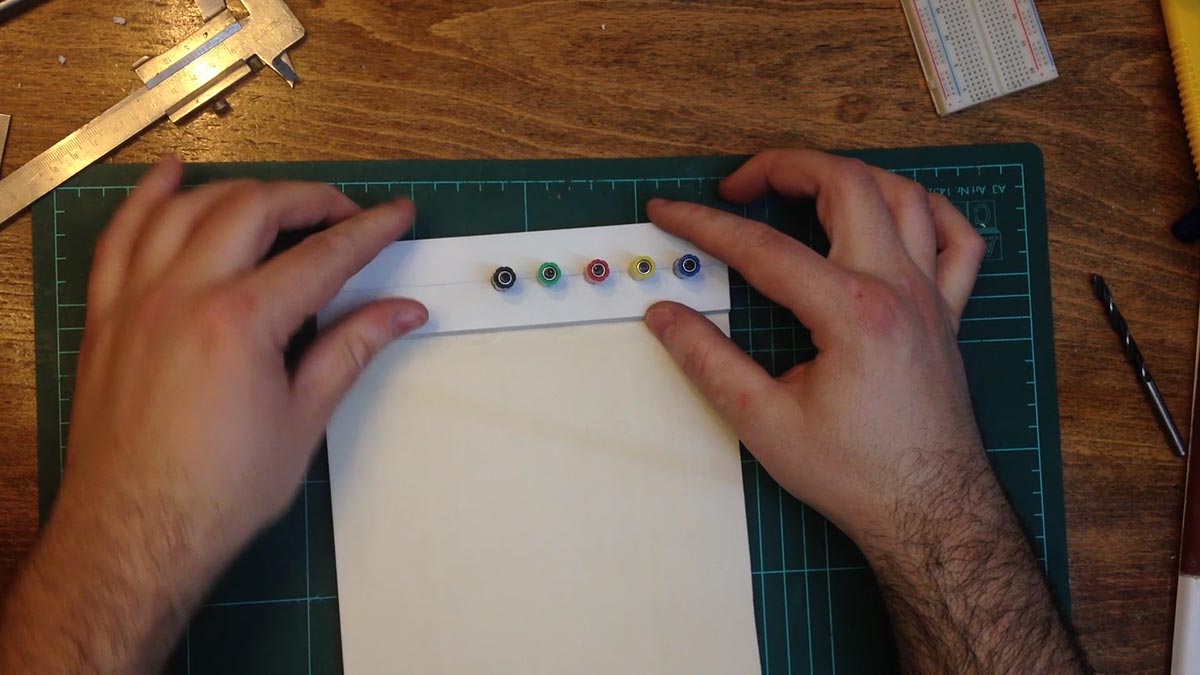
Once drilling was complete and I cleaned the work area, I test fitted the binding posts to the holes. Following the test fit, I masked off the center of the foam board and readied the piece to be painted. A quick clean with isopropyl alcohol and the pieces were spray painted and left to dry.
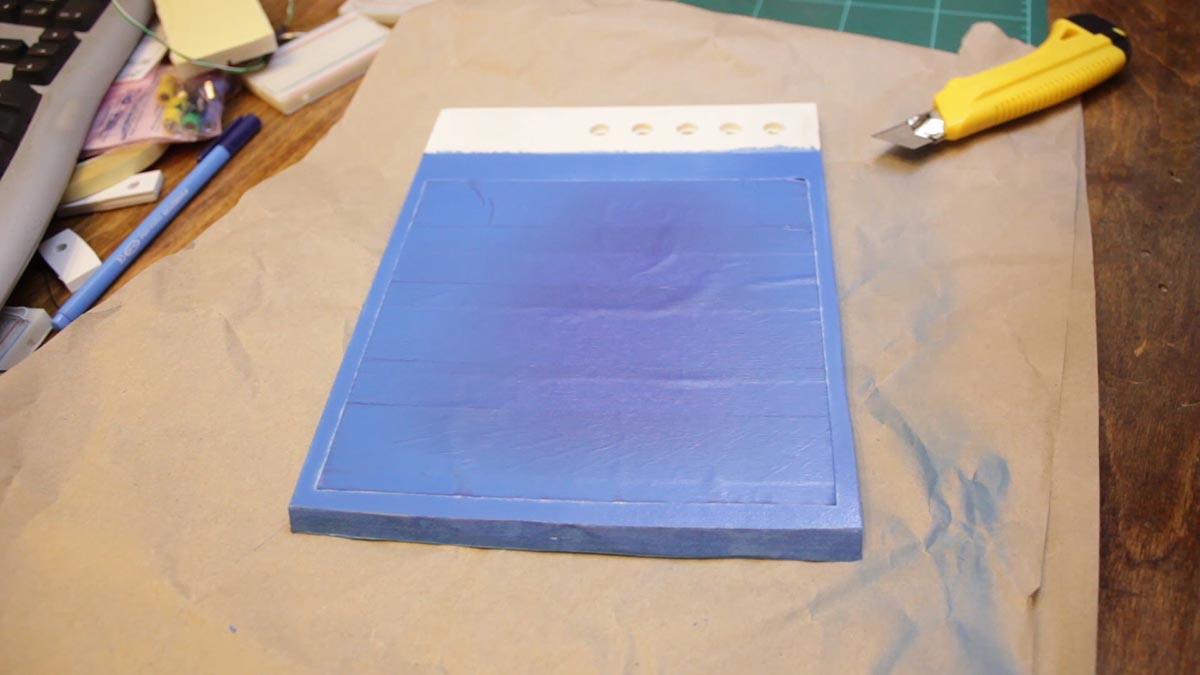
The base got a coat of our greedy corporate overlords custom pantone process Blue.
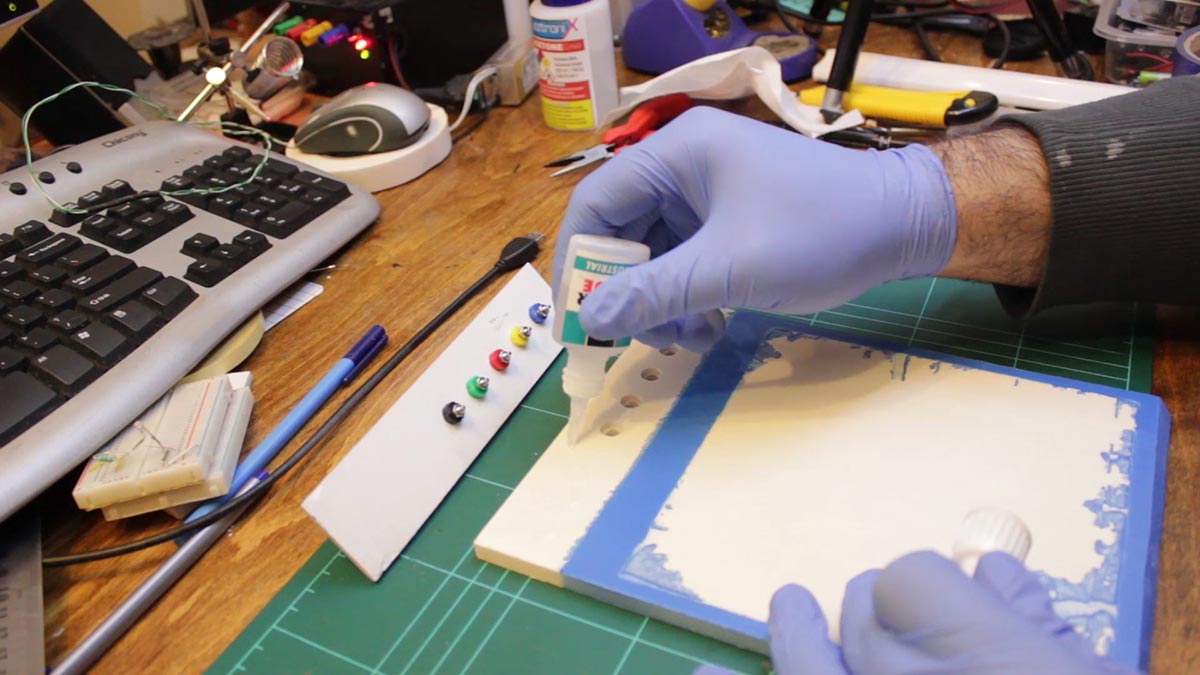
After painting and drying, it was time to glue the binding posts down. I used cyanoacrylate glue (also known as crazy glue or super glue). PVC adhesive contact cement can also be used as well as two part epoxy.

With the binding posts glued, it was time to stick the solderless breadboard pieces to the foam board. Some custom graphics printed on transparent pvc sheets were then applied.

I then soldered a set of banana plug leads that I could use with my makeshift bench-top power supply. With the leads complete, it was time to connect them to my power supply and test the voltages.
In a future video, I will be looking at the many aspects of closed cell PVC foam board and its different uses, so stay tuned