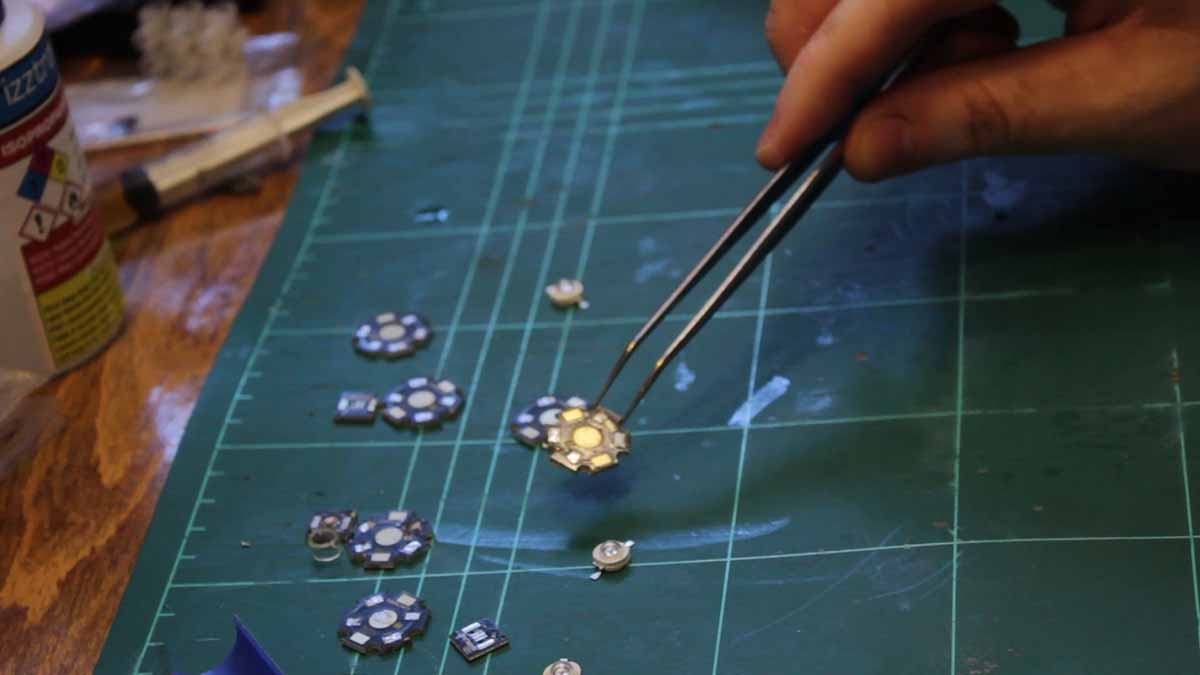
I have these Aluminium PCBs, so called STAR PCBs left over from a previous project. They are metal core PCBs whereas instead of the core being made of Fiber Glass such as in FR4 boards, these are made with Aluminium. Metal core PCBs help dissipate a large amount of heat away from the LEDs, making them very efficient in high power lighting applications.
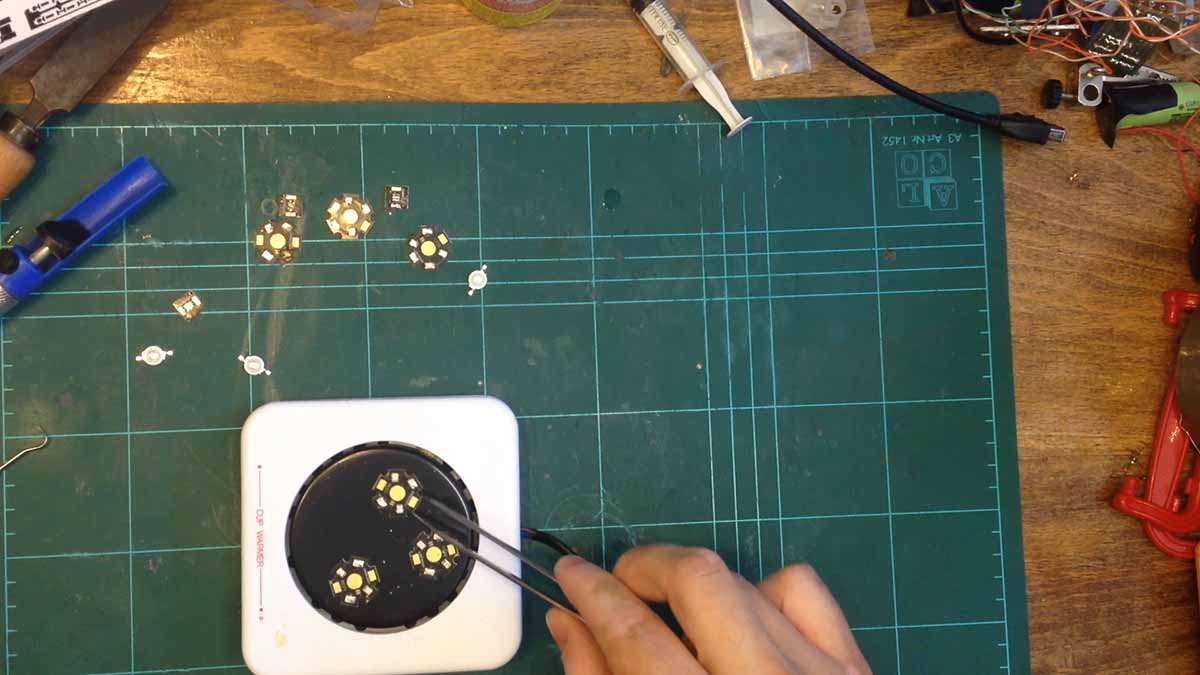
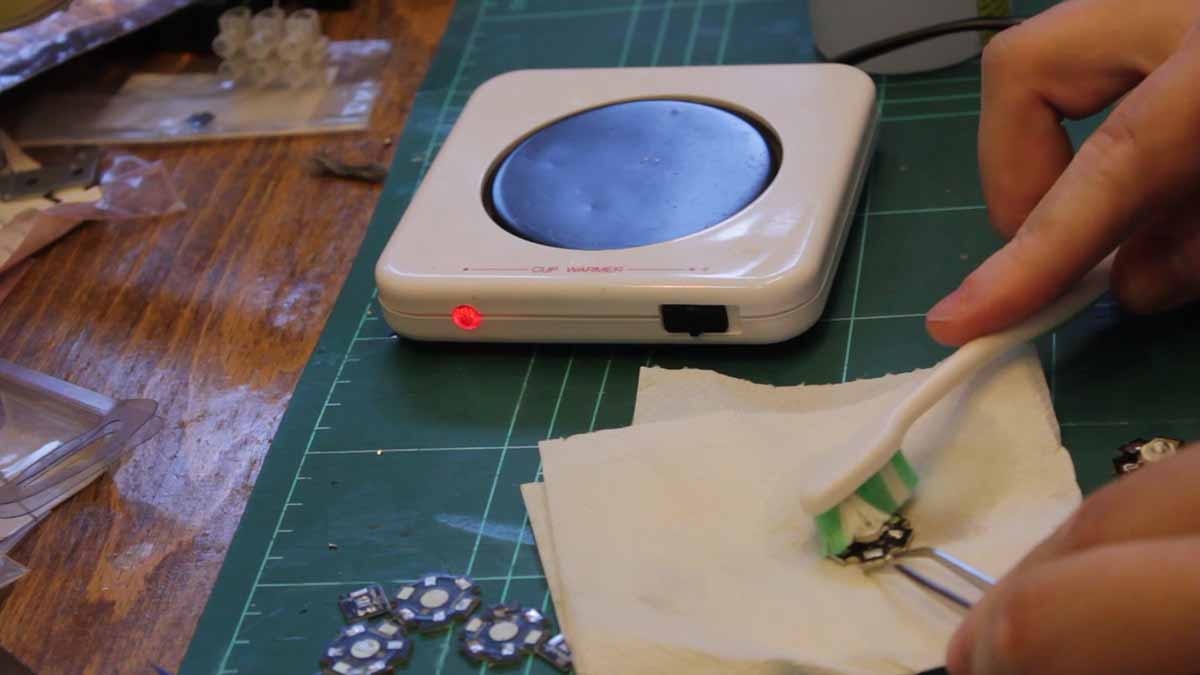
I start by warming up the PCBs on this coffee cup warmer. As a coffee cup warmer, it is utterly useless. However it works great for pre heating PCBs as the surface temperature reaches 90 degrees Celsius. Since Metal core PCBs are excellent at dissipating heat, it is vital to warm them on a surface and use a hotter soldering temperature to be able to melt the solder.
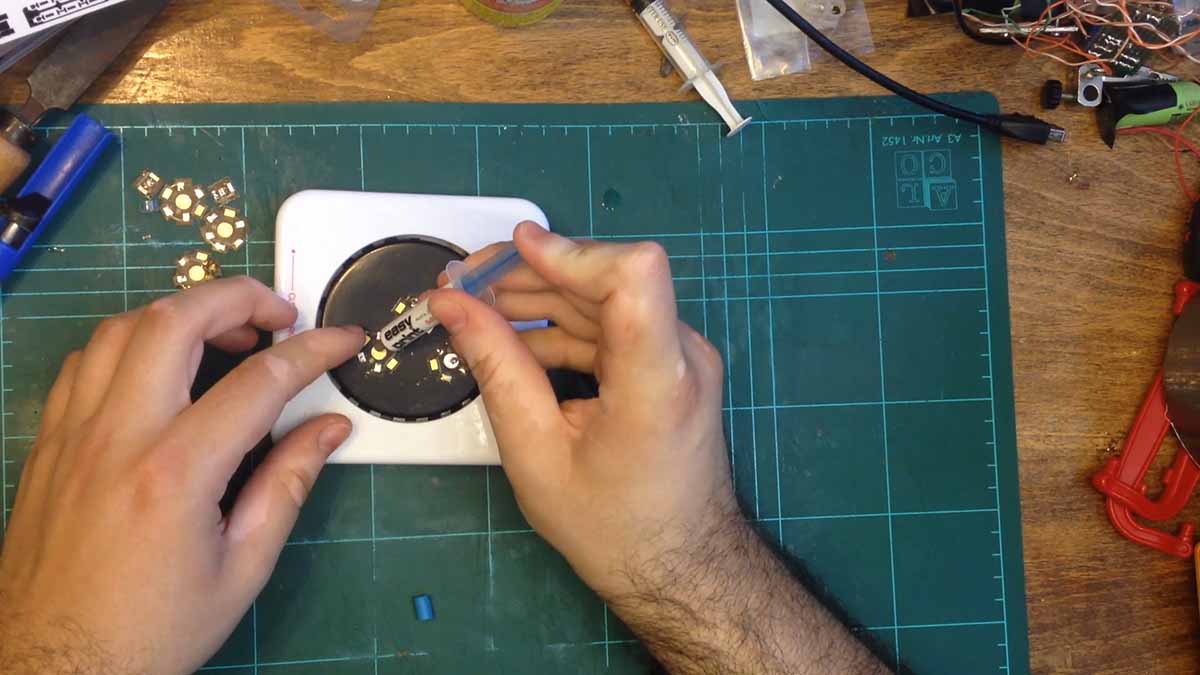
On two of the Stars, I pre-tin the pads and the center slug using regular solder wire. On the final Star, I use solder paste that I dab on to the pads.
I then put on liquid flux and also place the LED chips onto the PCBs. At this point I reflow the solder using my hot air gun.

Once all the LEDs reflowed, I cleaned the surface with an old tooth brush and Iso-Propyl alcohol.
I then prepared the small 1cm square PCBs. Onto these, I placed these small 3535 LEDs on to the boards. They have the same footprint as Cree XP-C or XP-E chips. These were also reflowed and subsequently cleaned.
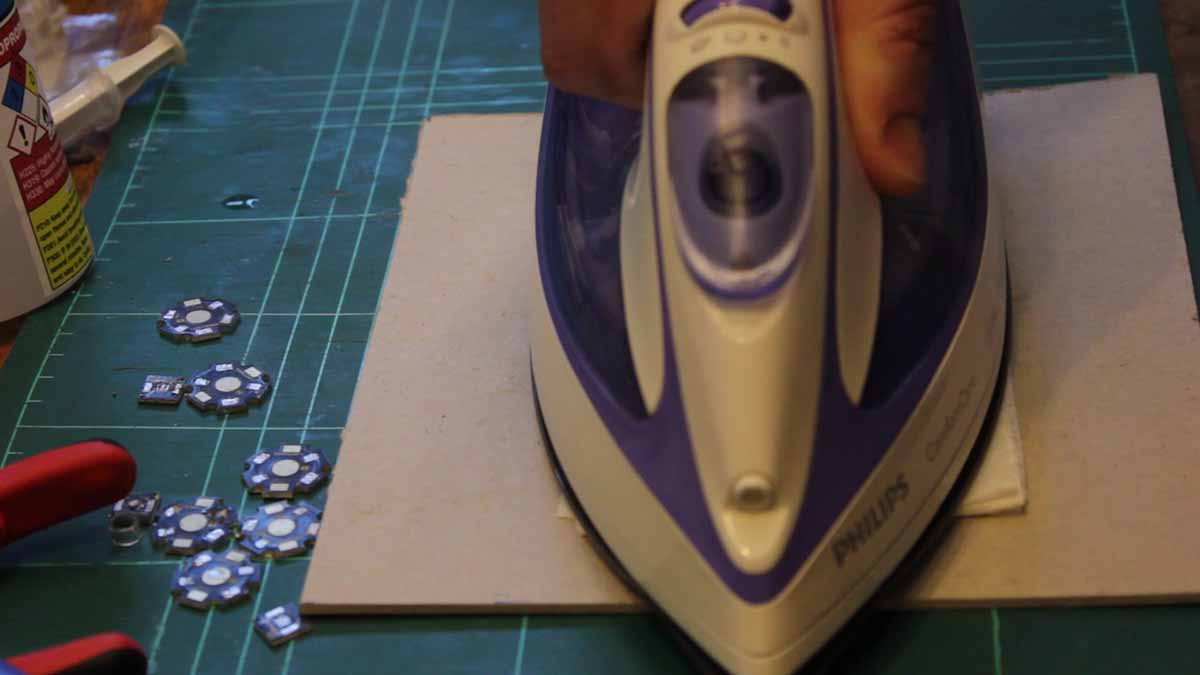
As a final example, I have this piece of scrap Aluminium core PCB that I prepare by cleaning the copper surface with steel wool and acetone. I then transfer the circuit design from the glossy paper to the surface using a clothes iron.
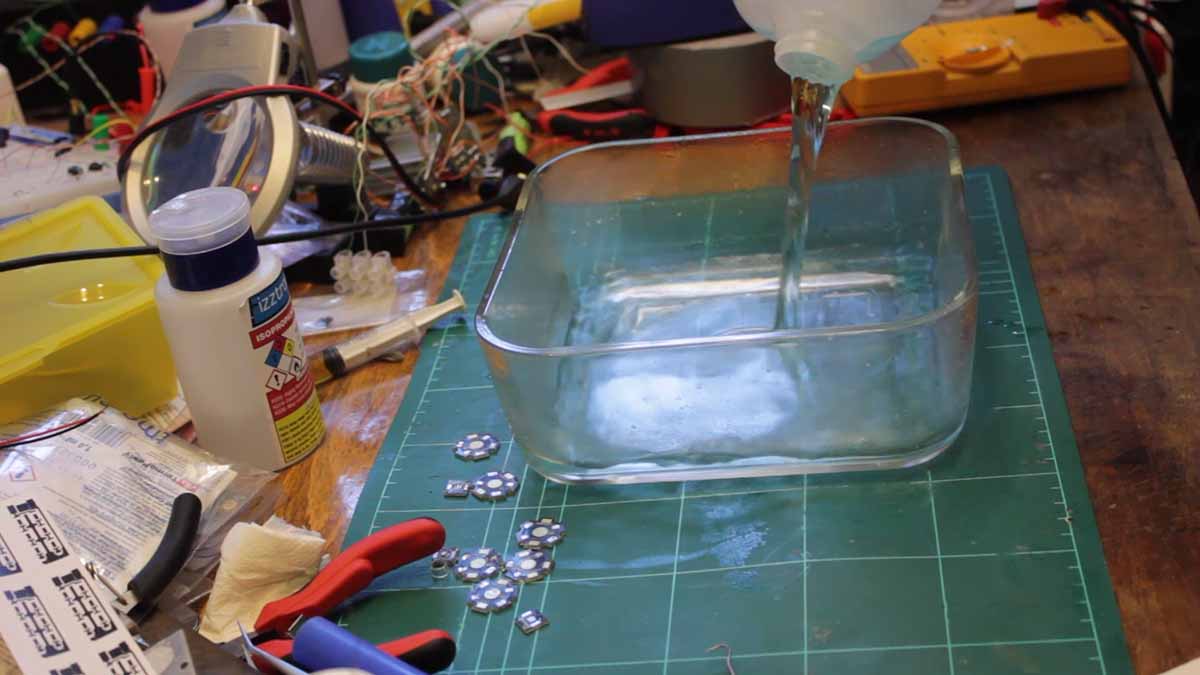
Once the transfer is complete, I put the PCB in a solution of Sodium Persulfate for a few hours to dissolve the copper. I prefer Sodium Persulfate to Ferric Chloride for Aluminium PCBs since the Sodium Persulfate does not attack the Aluminium.
After a few hours, the copper has been etched and all that remains is the toner which is removed with Acetone. I then apply solder paste again and this time place 3560 LEDs in series with a resistor.

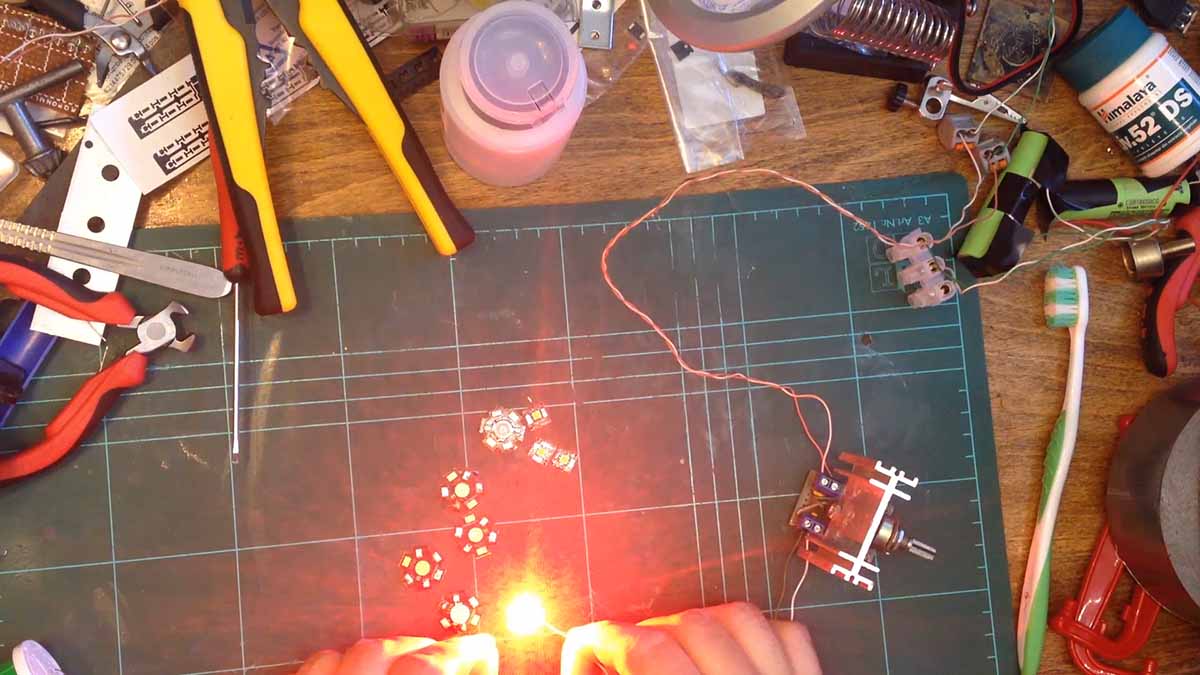
I reflow them as usual. I then tested all the LEDs to make sure that they work properly.