This is how I set-up a microphone stand in order to be able to record Voice Overs for my videos and for other audio / video production uses.
I bought this mic stand together with a wind shield and pop filter. You can find them on eBay for a pretty good bargain. With shipping included, it cost around 25 Euros.
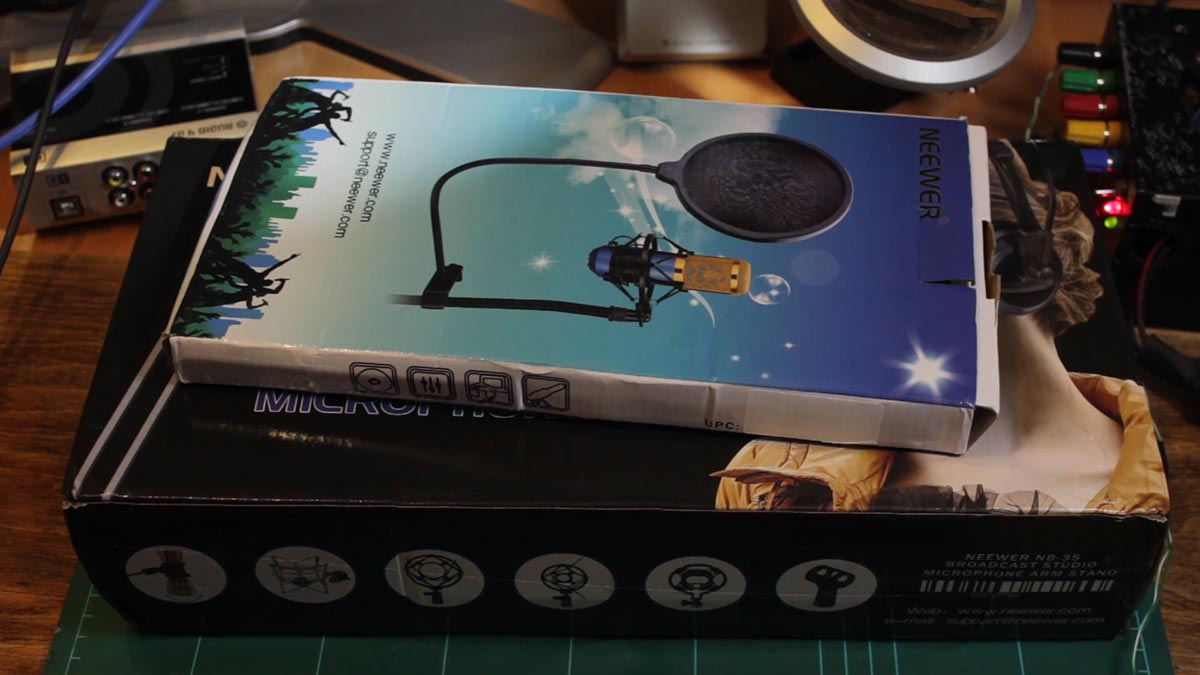
The package includes a shock mount holder for a condenser microphone. The suspension boom and a table clamp. I also picked up a pop filter to try to get better sound for my voice overs.
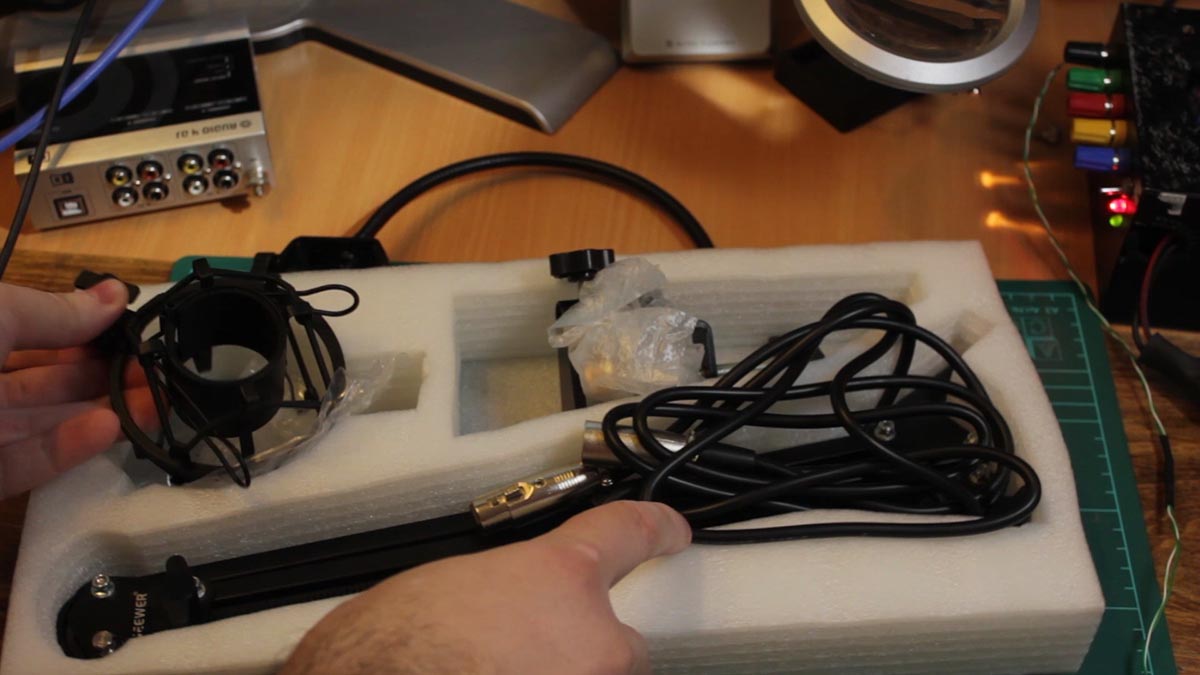
This is probably not the best kit for a professional radio studio or regular podcaster who will use this heavily. I just needed something basic that would hold my microphone in a fixed position.
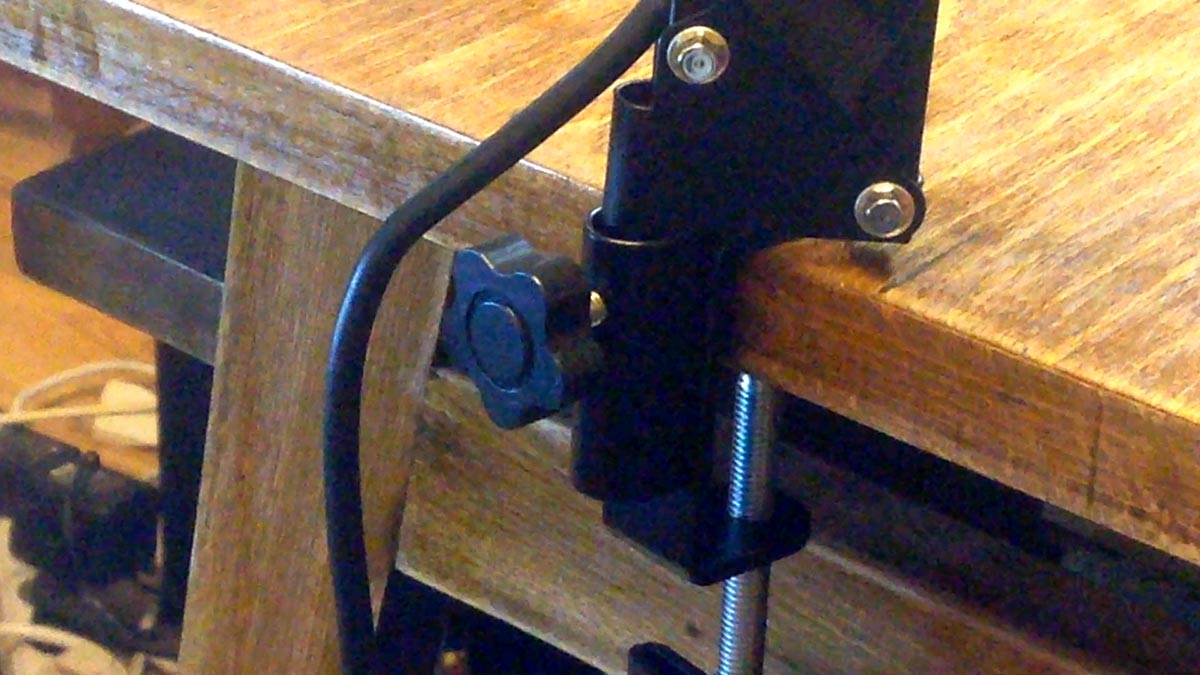
The first step was to mount the table clamp to the side of my desk where I wanted the boom arm to go.

After tightening it in place, I inserted the boom suspension arm.
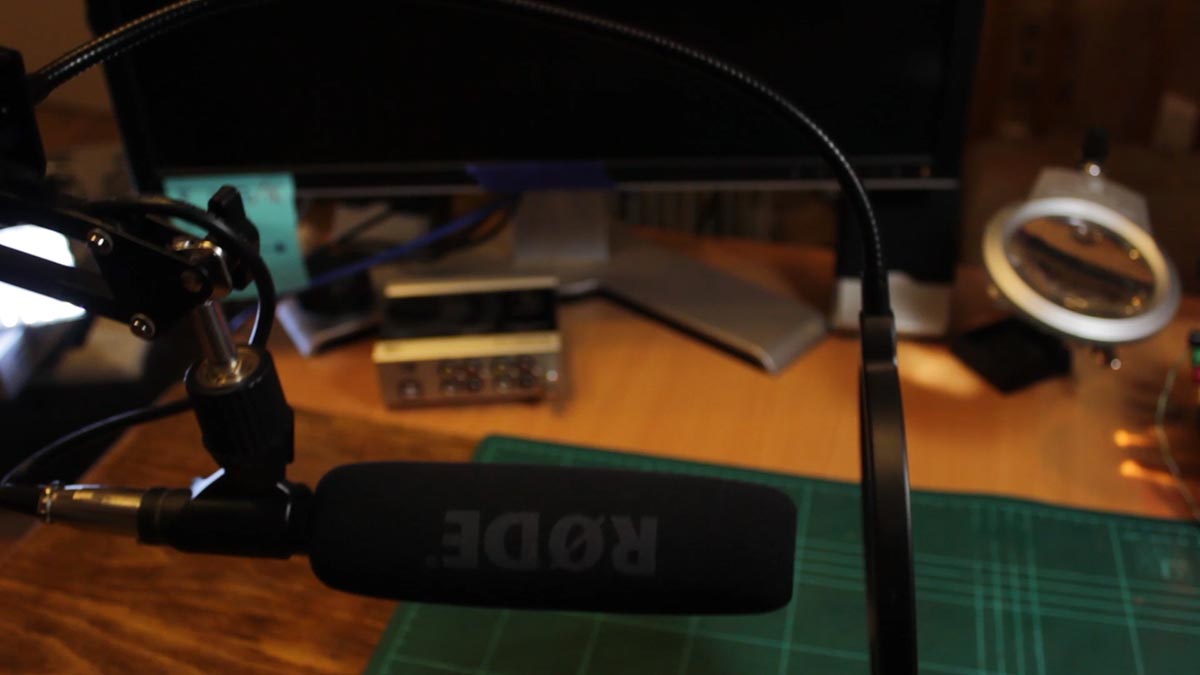
Since I use a shotgun style microphone from Rode that isn’t a condenser type, I used the regular microphone holder that comes with it.If you have a condenser microphone you should install the shock mount type holder.

I then proceeded to install the pop filter to the suspension arm.
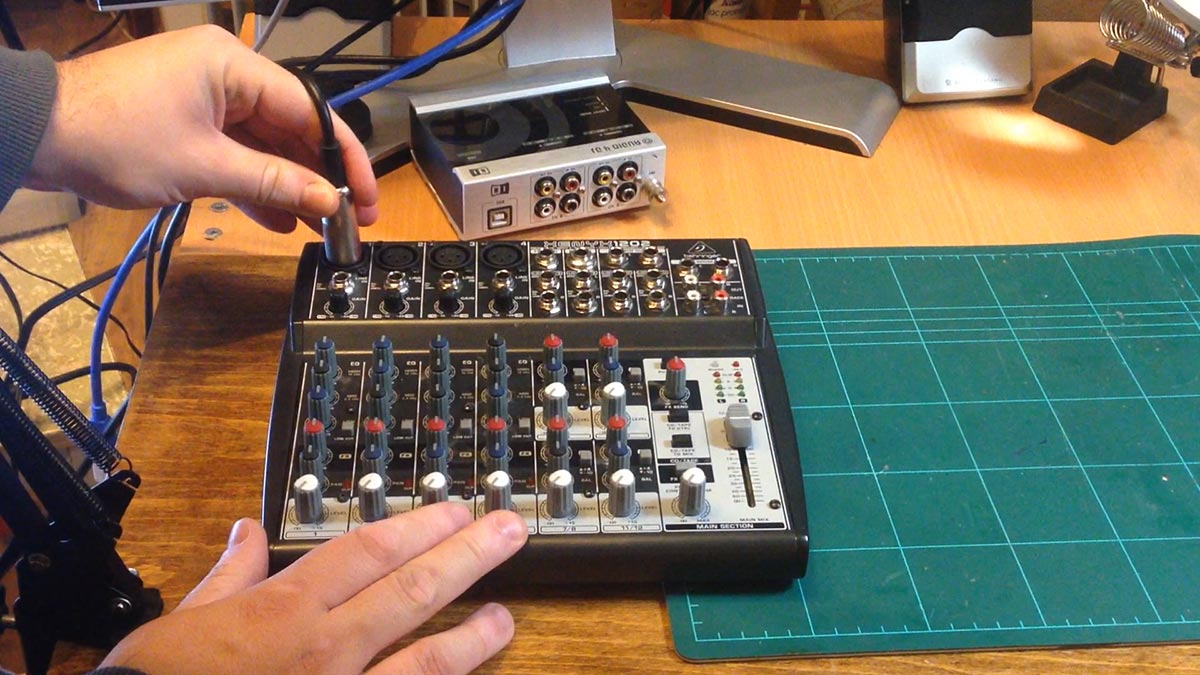
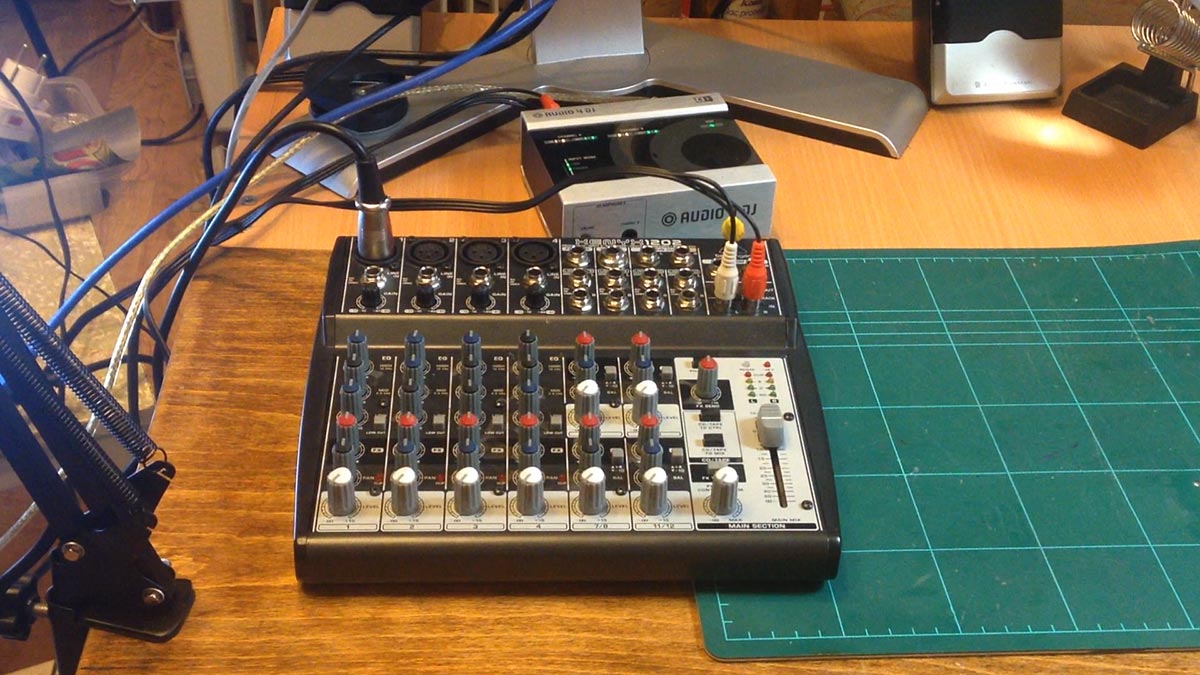
Once complete, it was time to plug in the microphone to the XLR inputs on my mixer.
The boom suspension arm has an XLR cable integrated inside of it so you don’t need to have your own microphone cable. The mixer output is connected to my external sound card via RCA interconnect cables.
My sound card is connected to my computer via USB. Once everything is plugged in, I am ready to use my setup to create Voice Over audio.