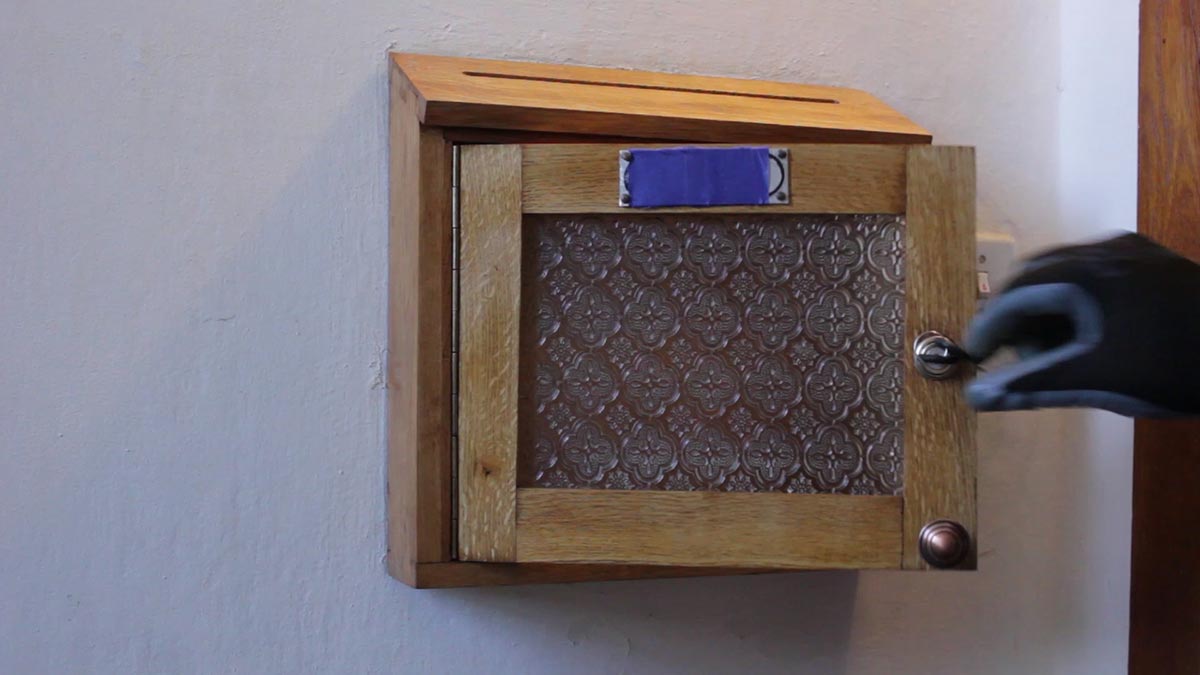
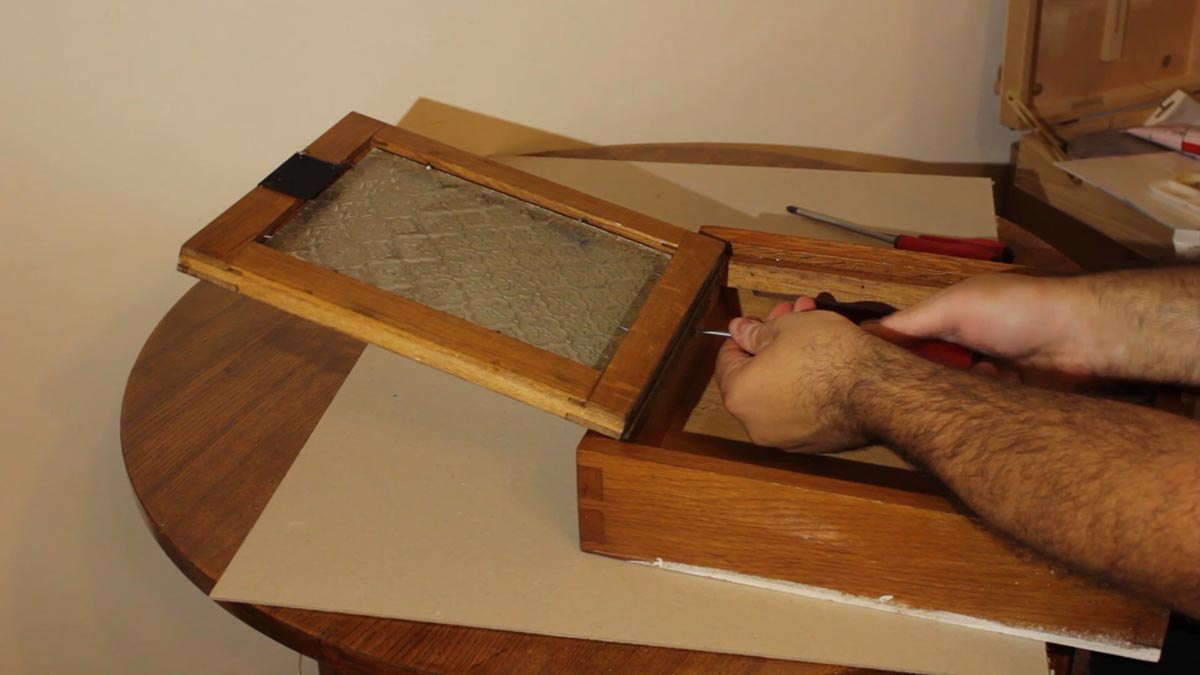
I first begin by removing the mailbox from the wall. I then disassemble the mailbox into its various parts beginning with the door.
Upon inspecting the closing hardware I knew I would have to replace it.
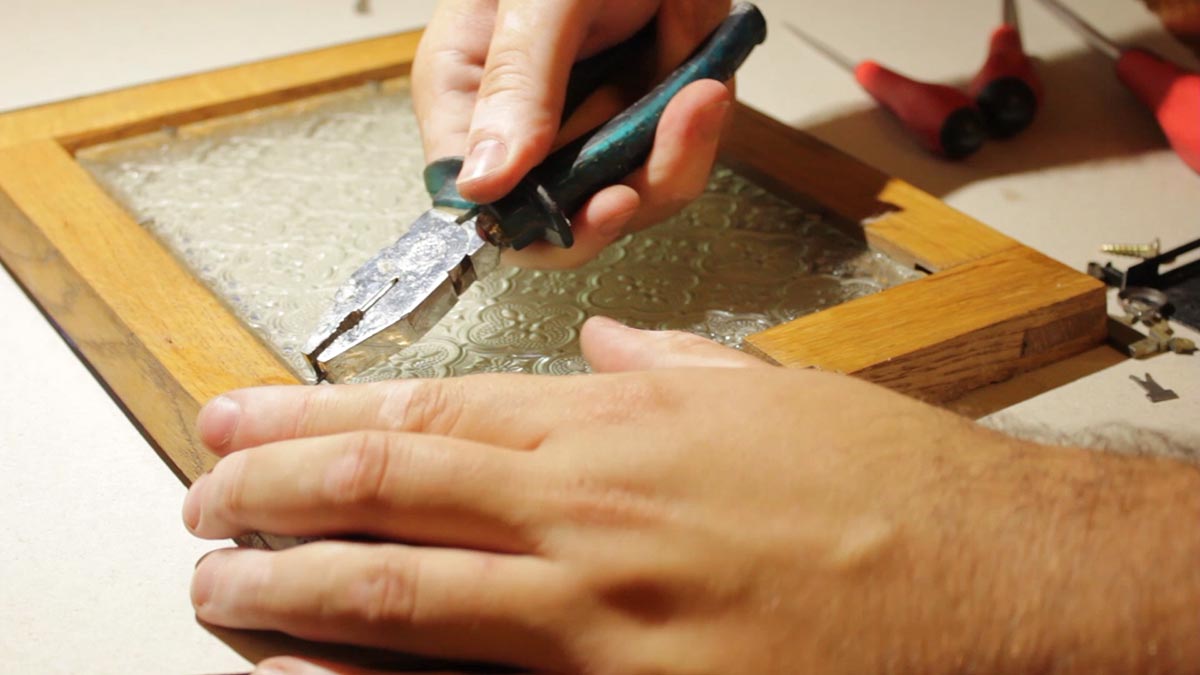
The glass pane is next to be removed.
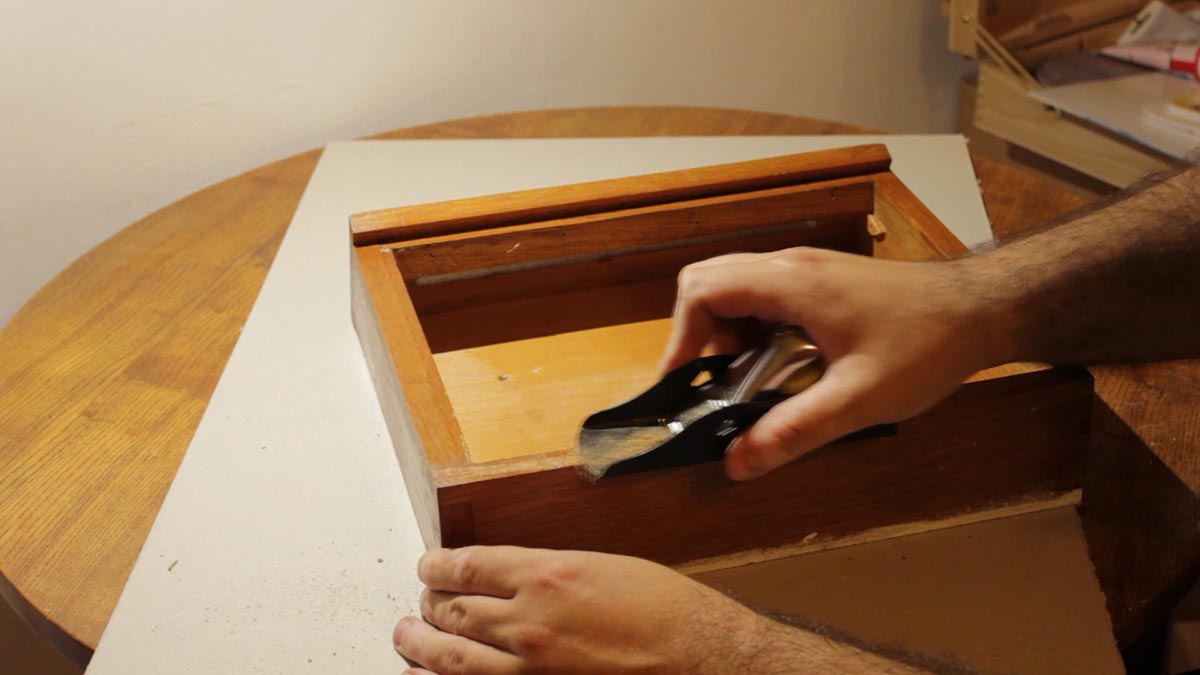
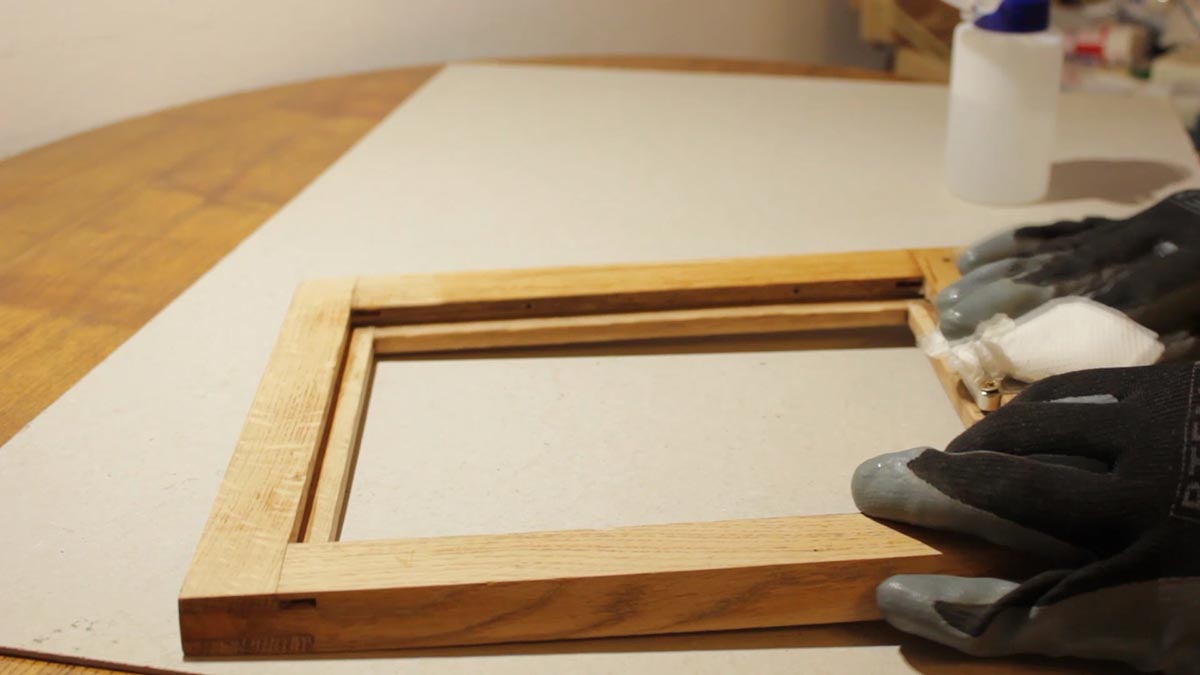
Once disassembled, I begin by hand planing the various edges to remove the existing lacquer.
I then proceed to sand the edges beginning with 80 grit sand paper.

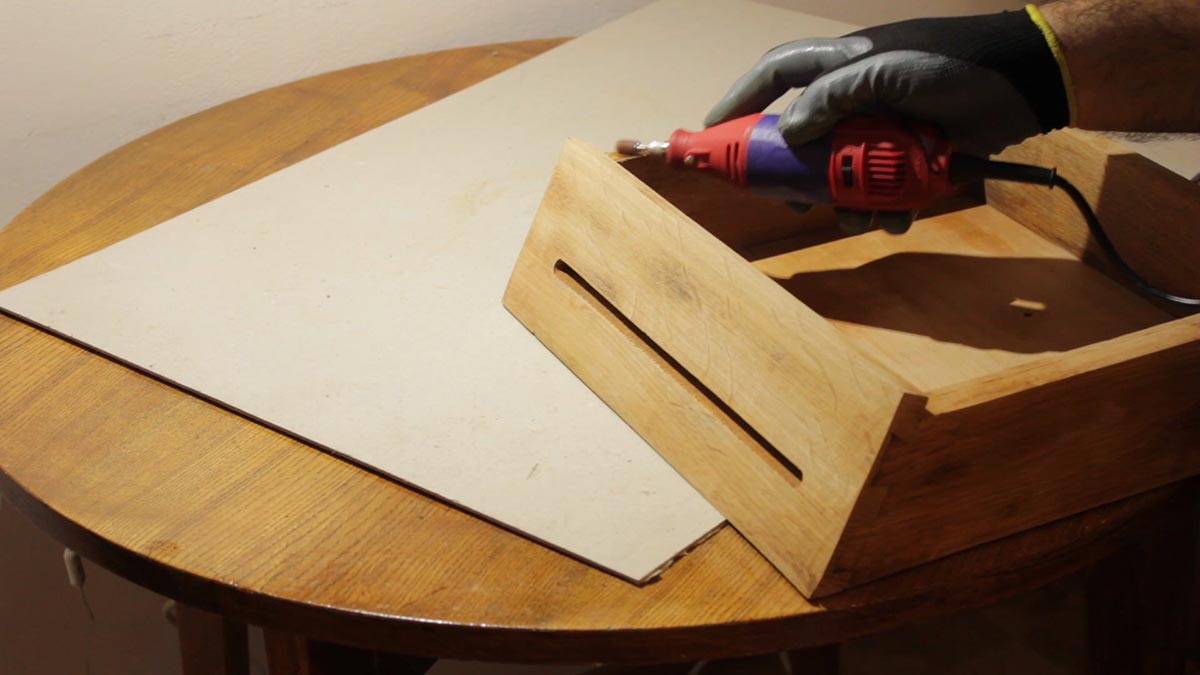
I progress all the way down to 220 grit. The parts that I can’t reach with the hand sander, I use my rotary tool.
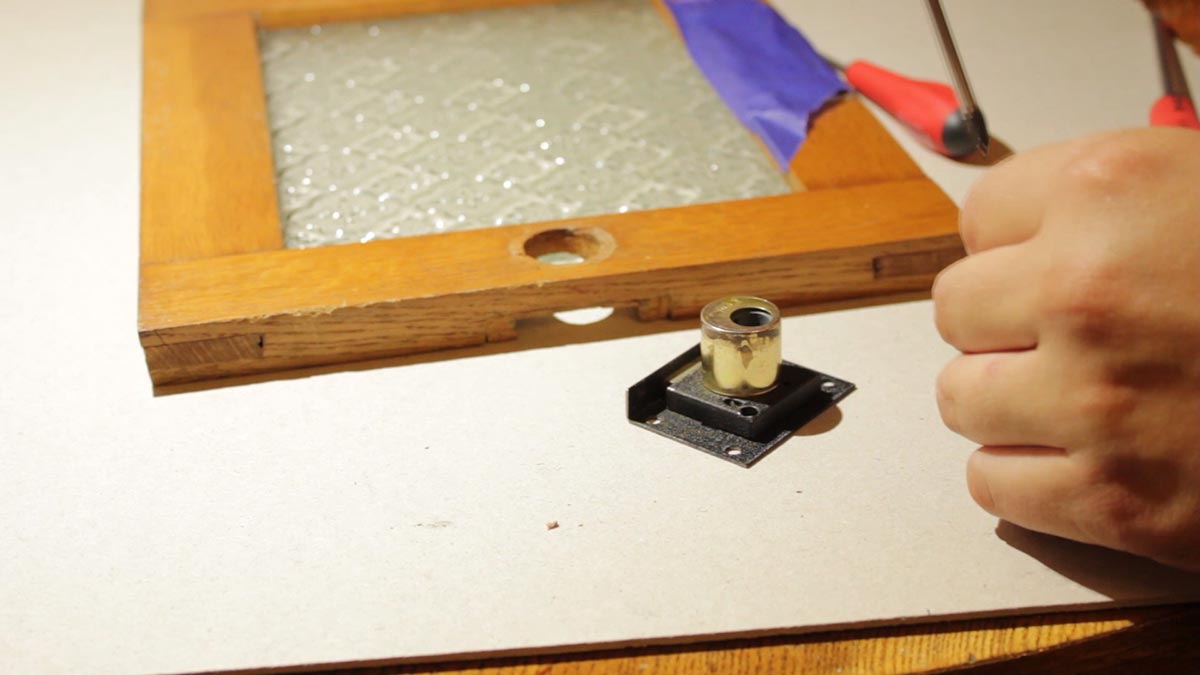
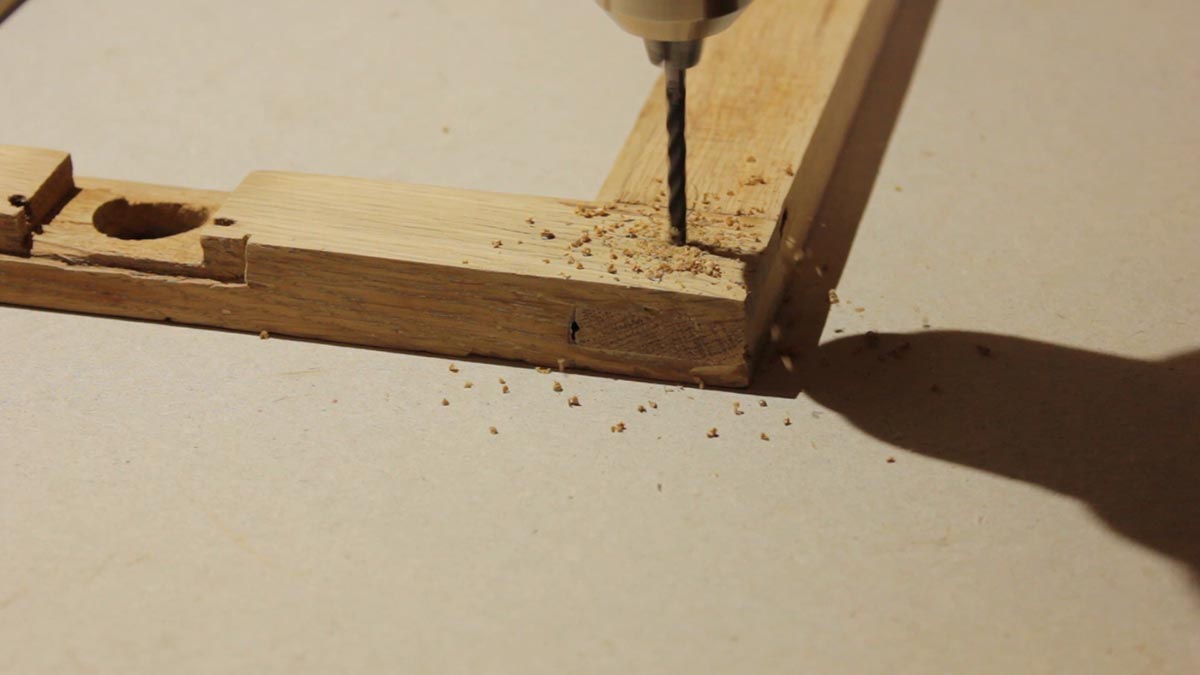
Once I’m finished with the sanding, I mark out and drill a hole for a knob.
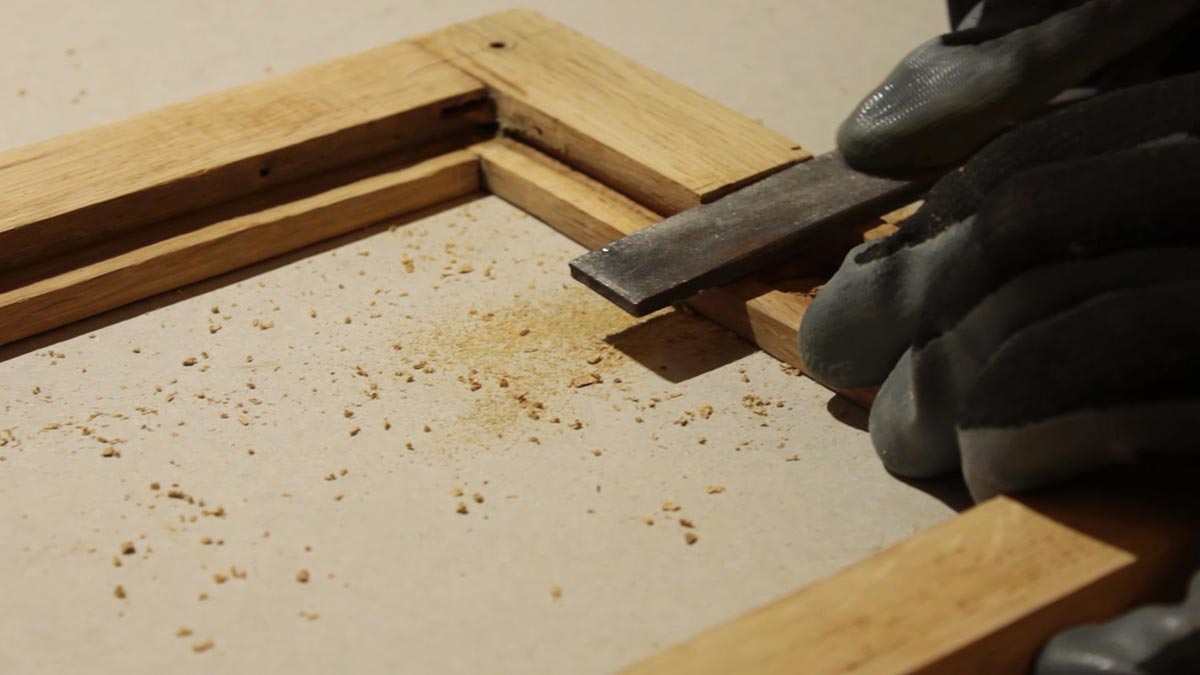
The new locking hardware is next and I have to modify the edge of the wood slightly. With the modification complete I test fit the new locking mechanism and screw it in permanently.
I wipe down the entire mailbox with isopropyl alcohol to remove all the wood dust and grit.
I then start to apply water based polyu
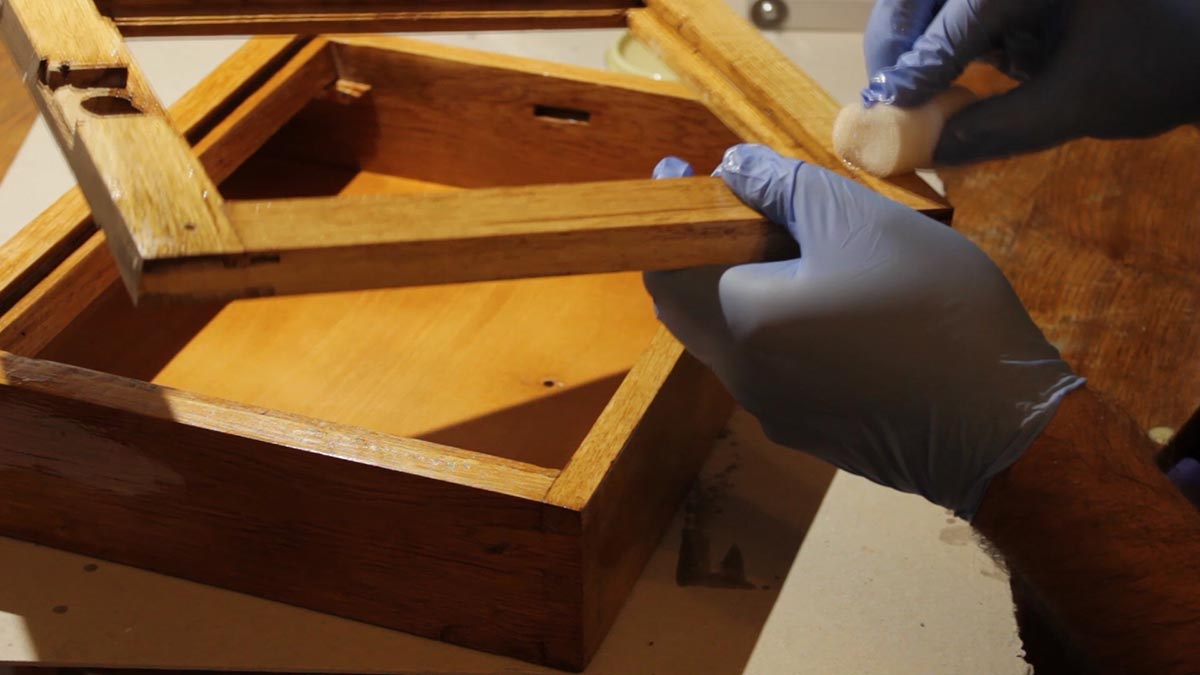
rethane with the aid of paper towels.
After a few coats, I begin the wet sanding process by progressing through the grits to around 440 grit. Since this is not really a show piece, I don’t go any further than 440 grit.

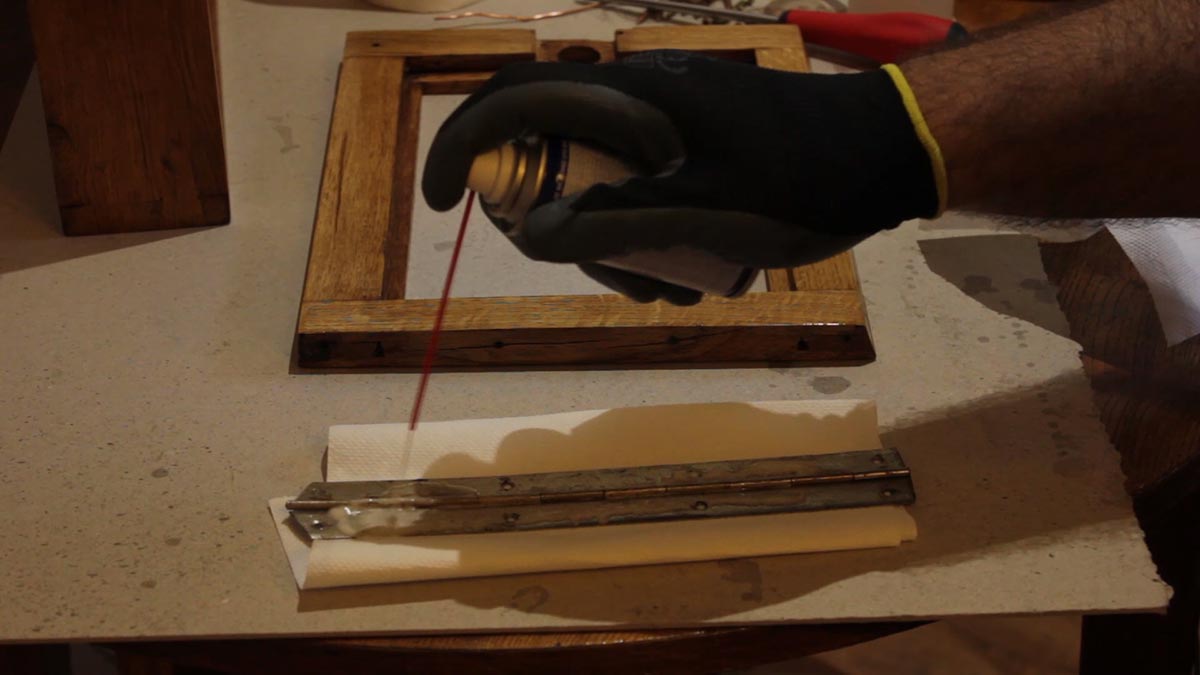
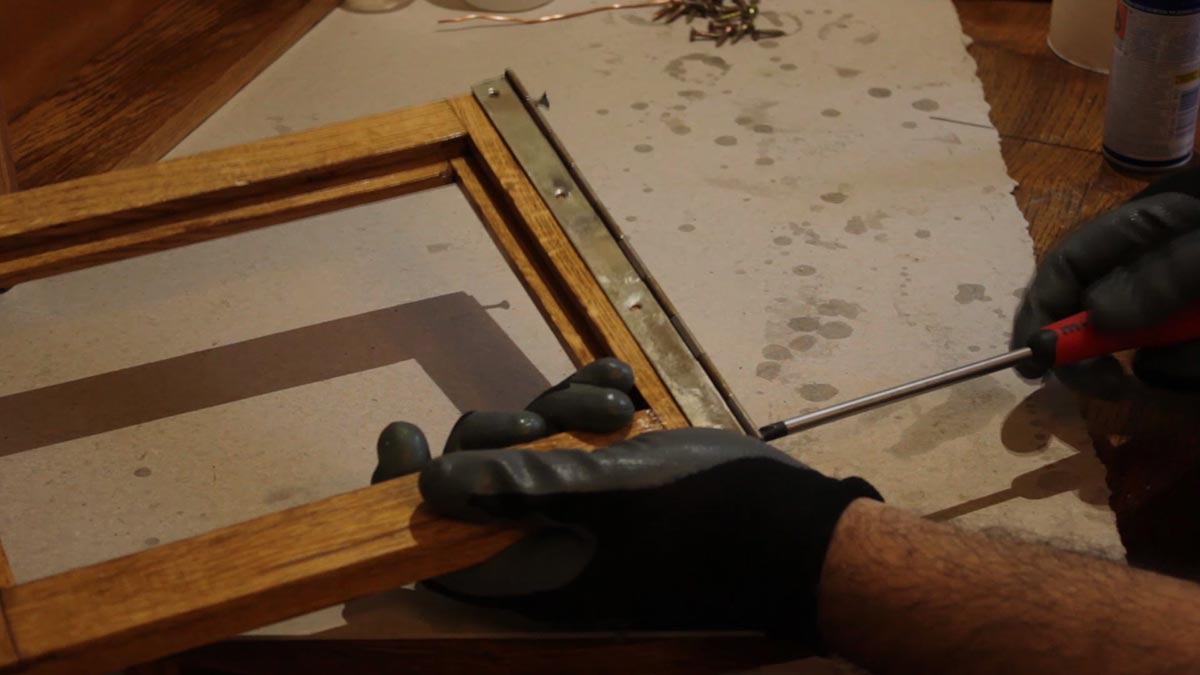
With the final layer of polyurethane applied, I move on to the hinge hardware. I clean and straighten it.
Once complete, I begin reassembling the mailbox. With the locking hardware in place, I test the keys.
I then put the mailbox back on the wall and it’s ready to be used.