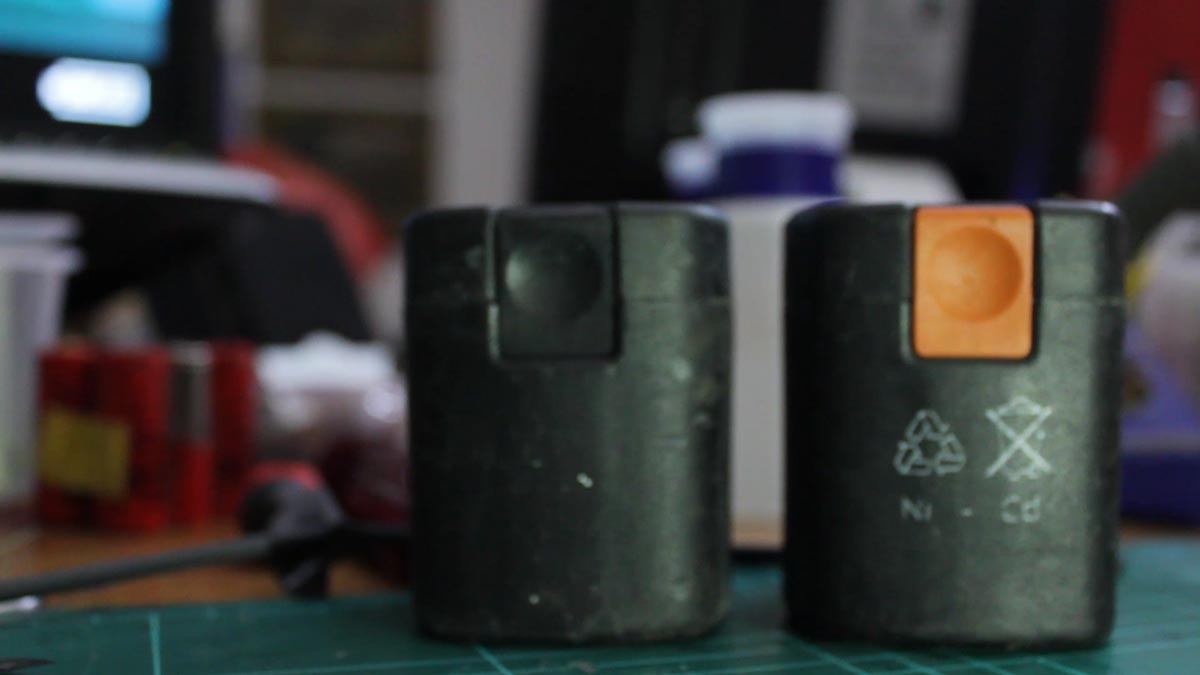
I recently bought this Fein cordless screwdriver which had three dead battery packs. The original packs were 9.6V / 800mAh capacity packs and contained NiCd cells from Sanyo / Cadnica. In order to replace the dead cells, I looked online and bought 24 comparable NiCd cells with a stated 1700mAh capacity. These cells were charged at 1/10 C rating for 16 hours and left for a few days. If they maintained a charge of 1.3V or higher, I used them to build the pack.
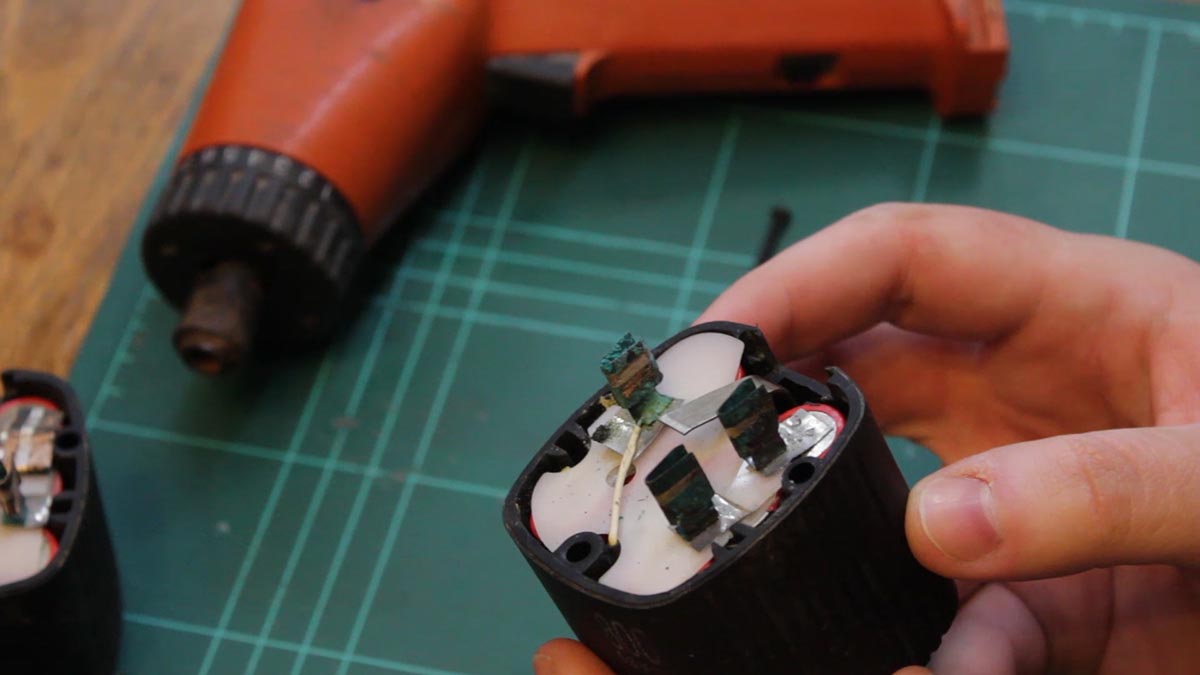
The first step was to open each battery pack and inspect the NiCd cells inside. As can be seen, the battery contact tabs are very much corroded with copper sulfate oxidation. I removed the cell packs from the battery holders.
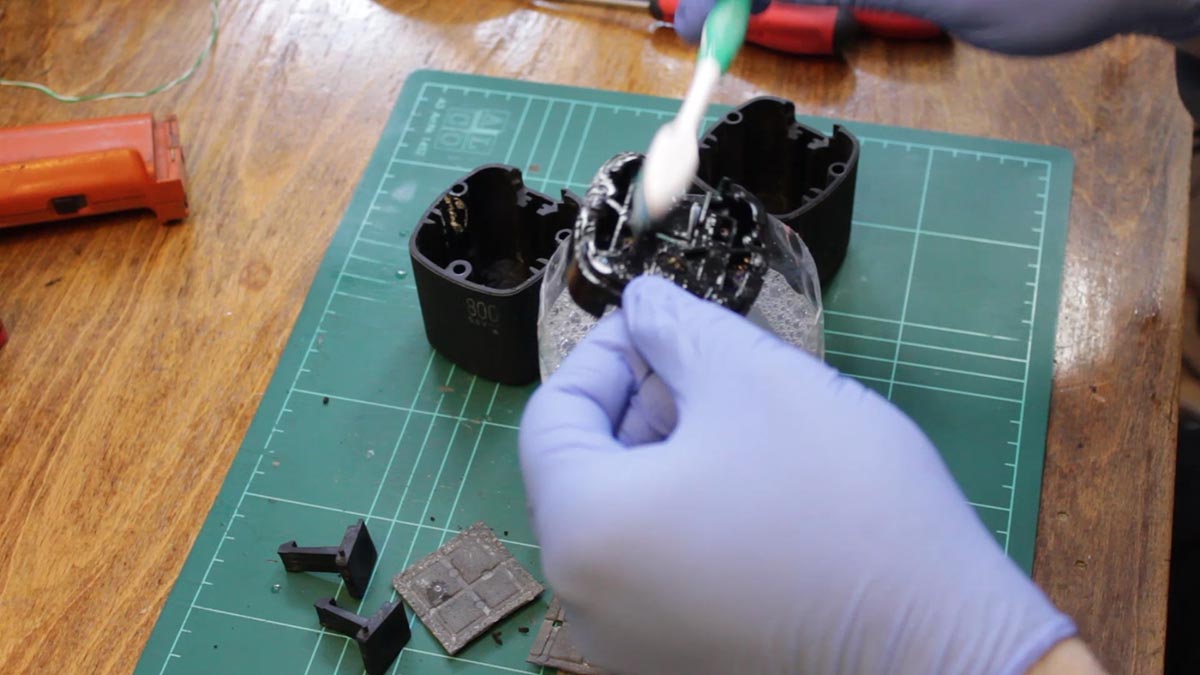
Since copper sulfate is slightly acidic in water, I made a solution of detergent water which is slightly alkaline. Together, they should neutralize each other. However, I did wear gloves during the cleaning process. I proceeded to wash the battery compartments and all of the plastic parts.

I bought these 1700mAh cells that I found online. If their stated capacity is authentic, they would hold twice the amount of charge as the original Cadnicas. After charging them for 16 hours at 1 tenth C rating, I verified that they all held a similar charge in order build the first battery pack. I also picked up a pack of battery tabs that needed to be attached to both ends of each cell.

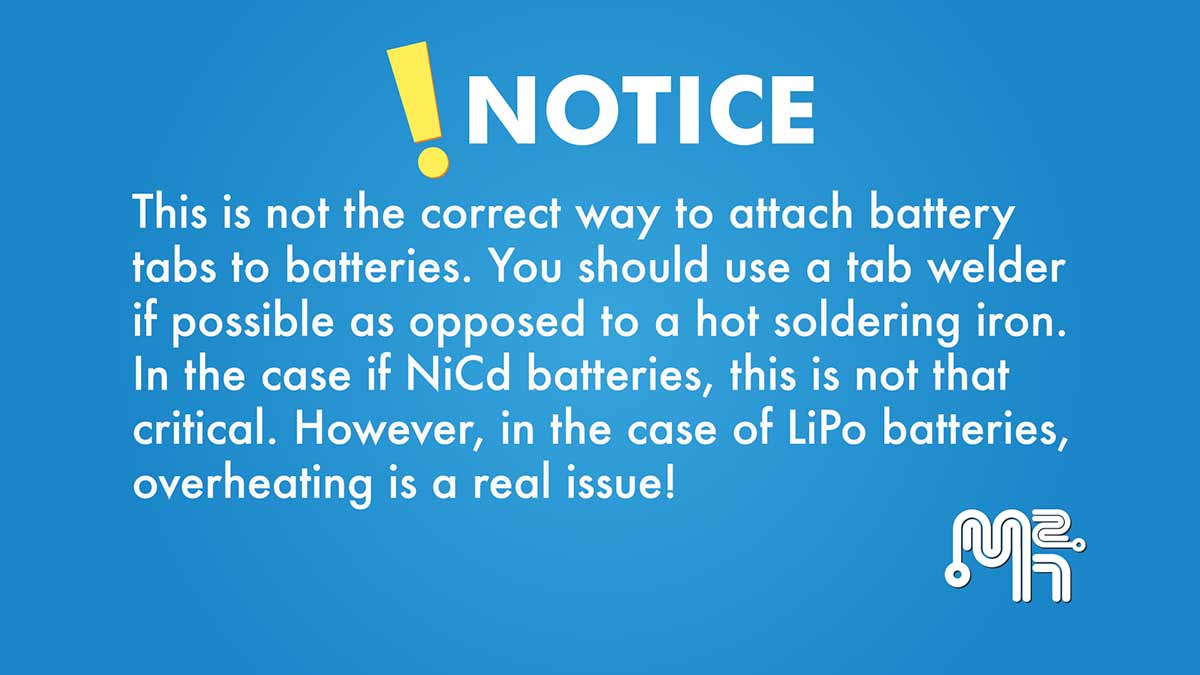
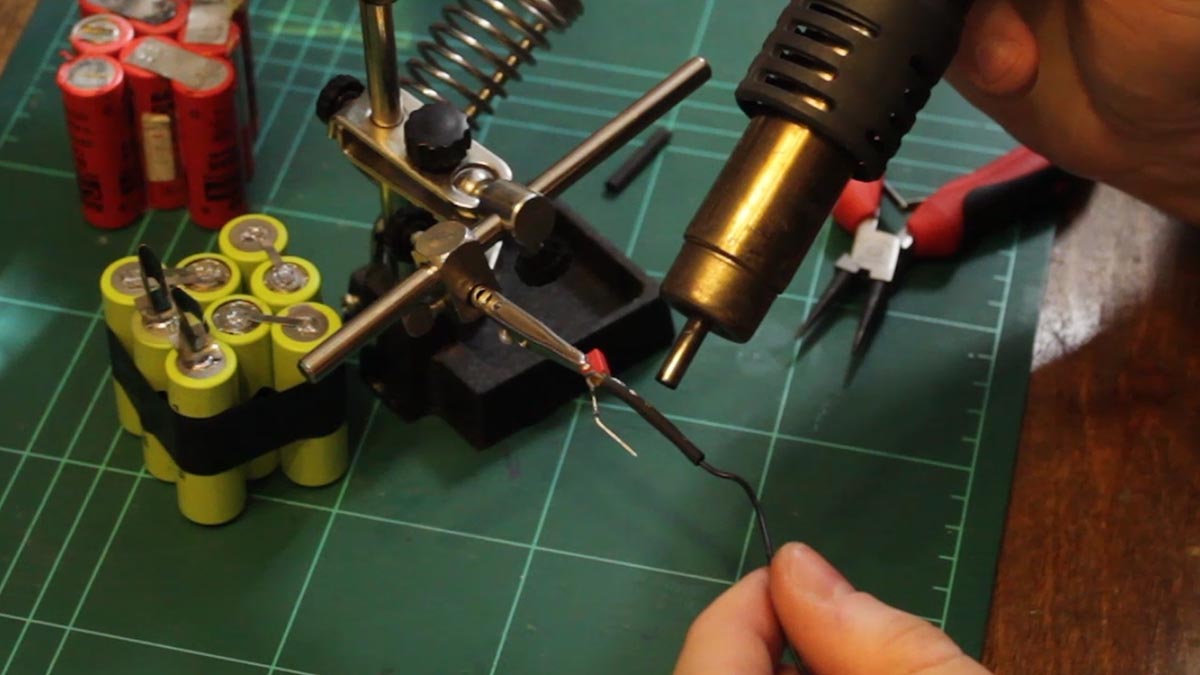
My attempt at a makeshift tab welder using a car battery was a dismal failure. I decided to solder the tabs to the batteries instead. I sanded each end of the individual cells using an abrasive sand paper in order to give the solder something to attach to. Once this was done, I proceeded to begin soldering the battery tabs to the individual cells.

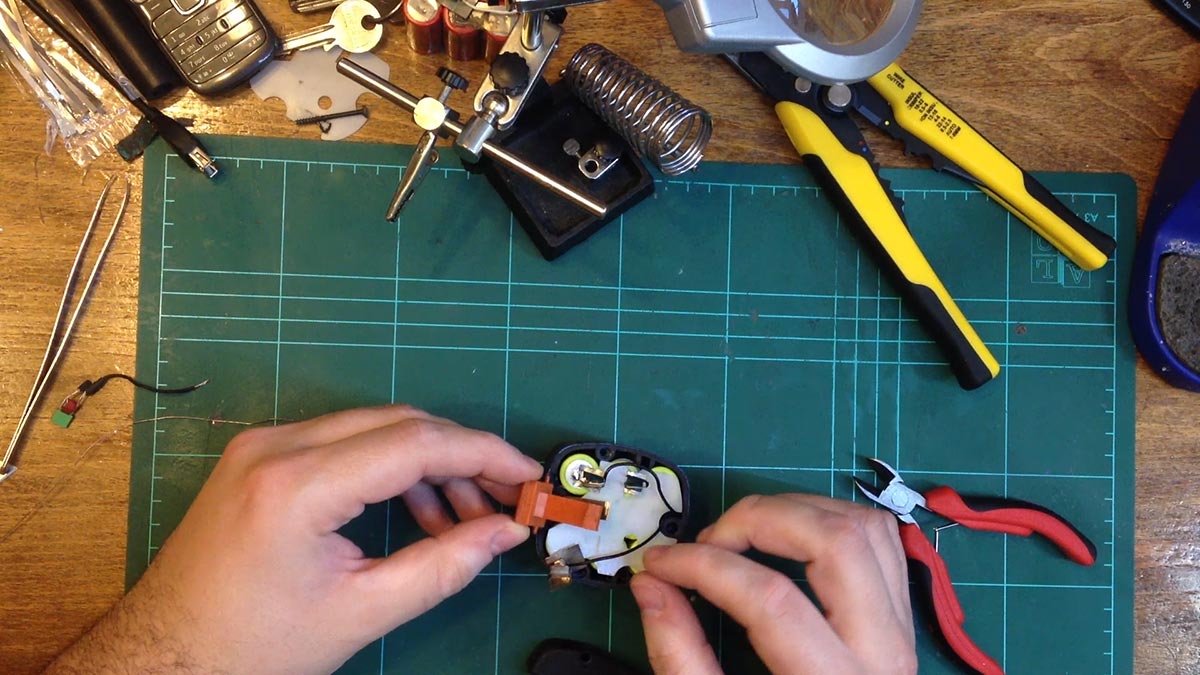
After soldering the tabs, I was ready to build the first battery pack. After cleaning the charging tabs, I then soldered them to the first positive cell and the last negative cell. One of the original battery packs had a charge monitoring circuit consisting of an NTC thermistor and a capacitor.
These were soldered together and heat shrink tubbing was used to isolate the leads. The protection circuit goes in between the negative terminal of the last cell in the series and to the third charging tab which is the monitoring terminal. Once this step was complete, it was time to begin reassembling the first battery pack.
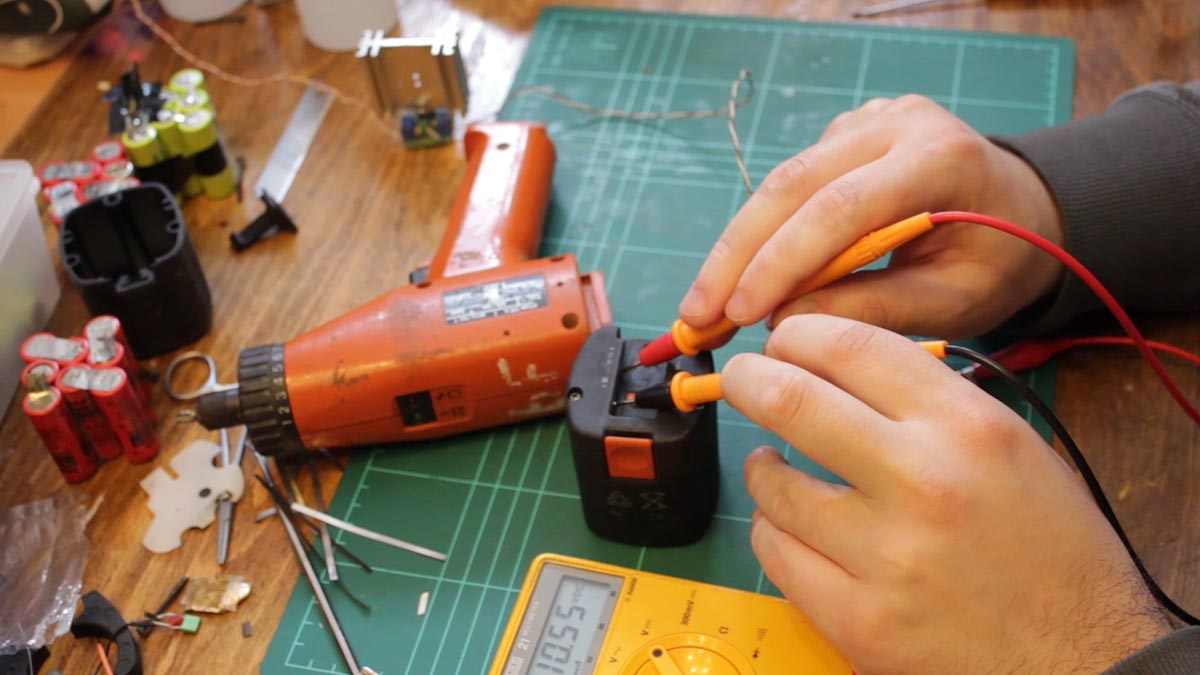
I trimmed any excess tape and soldered the protection circuit in place. I then reassembled the battery pack. It was now time to test the battery pack and see if the cordless screwdriver would work.
However, it does not work. I verified the voltage on the battery pack and it was fine : It was above the nominal 9.6V of the pack. I then connected the cordless drill to a regulated supply providing over 9 V and it too wouldn’t make the drill work. It seems to either jam or just stop for some reason. The problem seems to lie with the internals of the cordless drill.
The next day, I proceeded to build the second battery pack. Once finished, I also measured the voltage of this pack and it too was ok. I left the last pack for a future video where I will hopefully get both the drill working and maybe a tab welder.