In this first part, I make a solder fume extractor using very basic materials anyone can easily find. All you need is a 12V PC Fan, some recycled fiber cardboard (you can use corrugated cardboard from a box) and a hot glue gun (as well, you can use PVA glue).
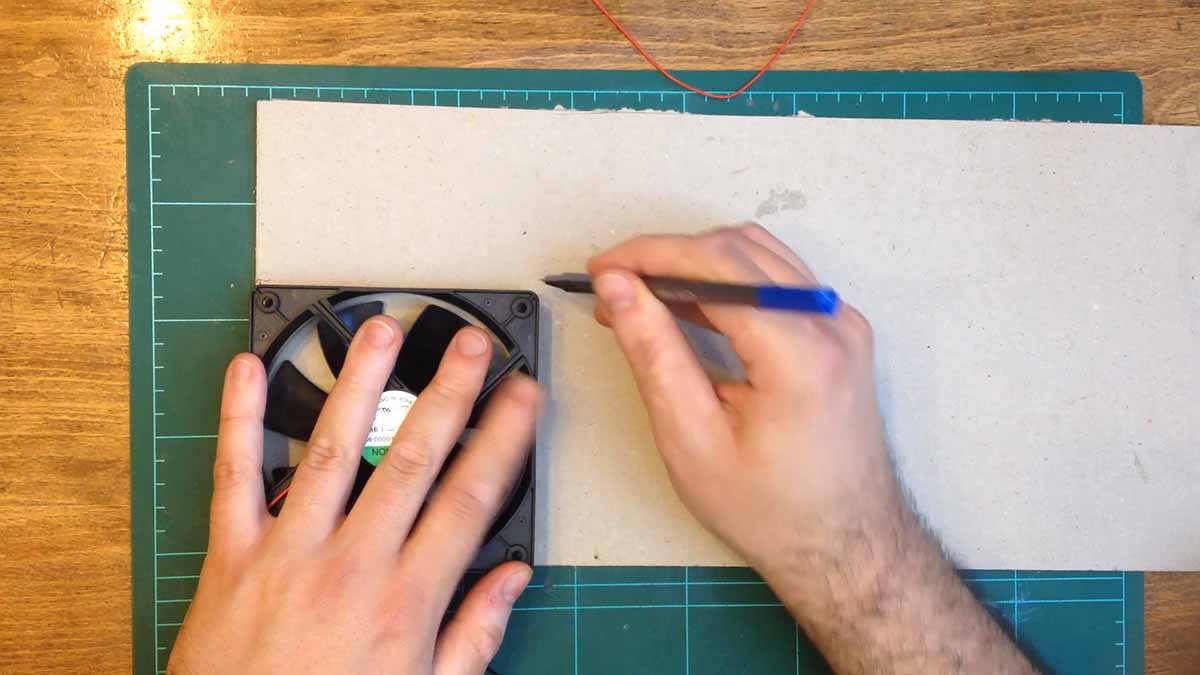
I begin by tracing the outline of a 120mm DC Fan on a piece of craft cardboard. This particular craft cardboard is around 3mm thick and is made of recycled paper fiber. You can usually find it at a crafts store or perhaps even a stationery or office supply store. I then cut out the trace and verify that it covers the entire fan face.
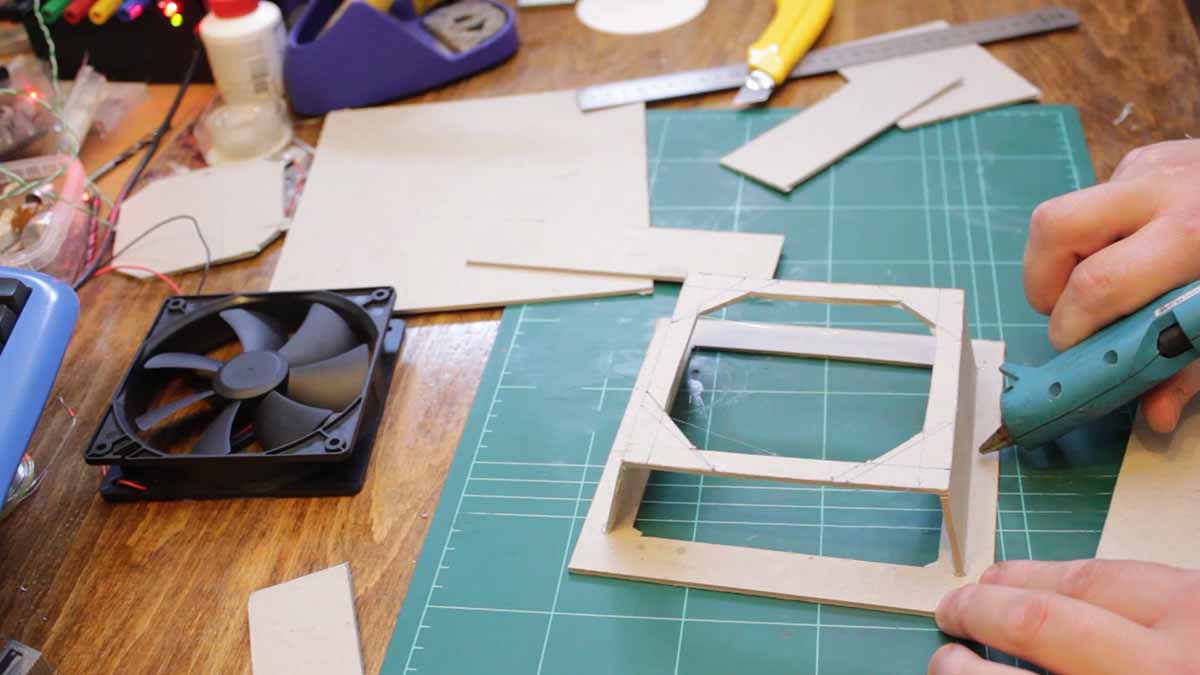
I then cut a square that is 4cm wider and taller than the first piece. I use the first square and measure a further cutout in the larger square. With the piece cutout, I start to measure the cutout for the smaller square.
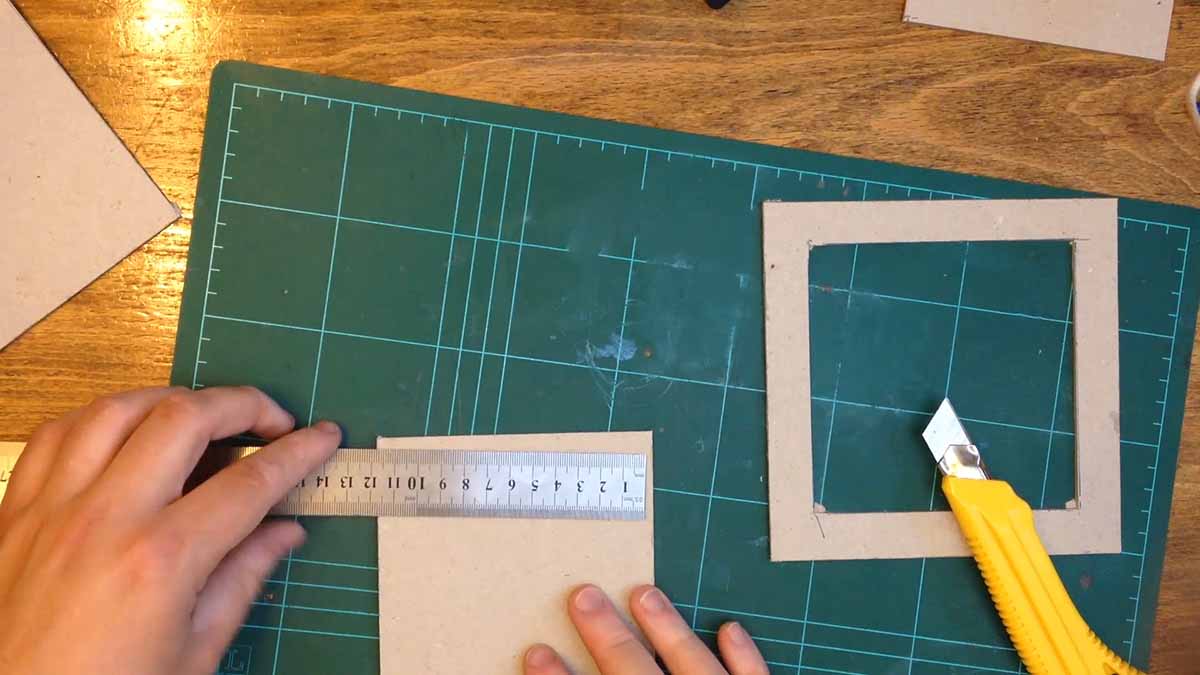
This cutout is angled so that they measure the opening of the fan. I verify that it fits over the fan well.
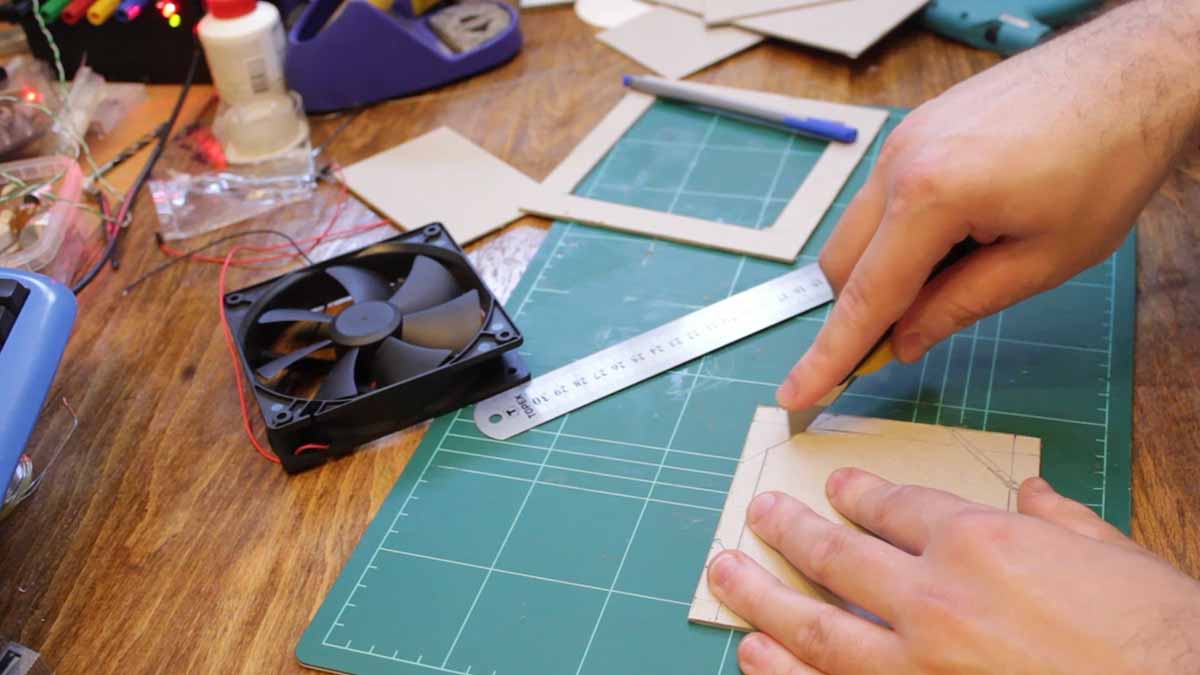
Once both squares are cut, I turn my attention to cutting pieces of cardboard for the sides. With the side pieces cut, I tack the first two in place using a hot glue gun. The top and bottom squares are then tacked into place.
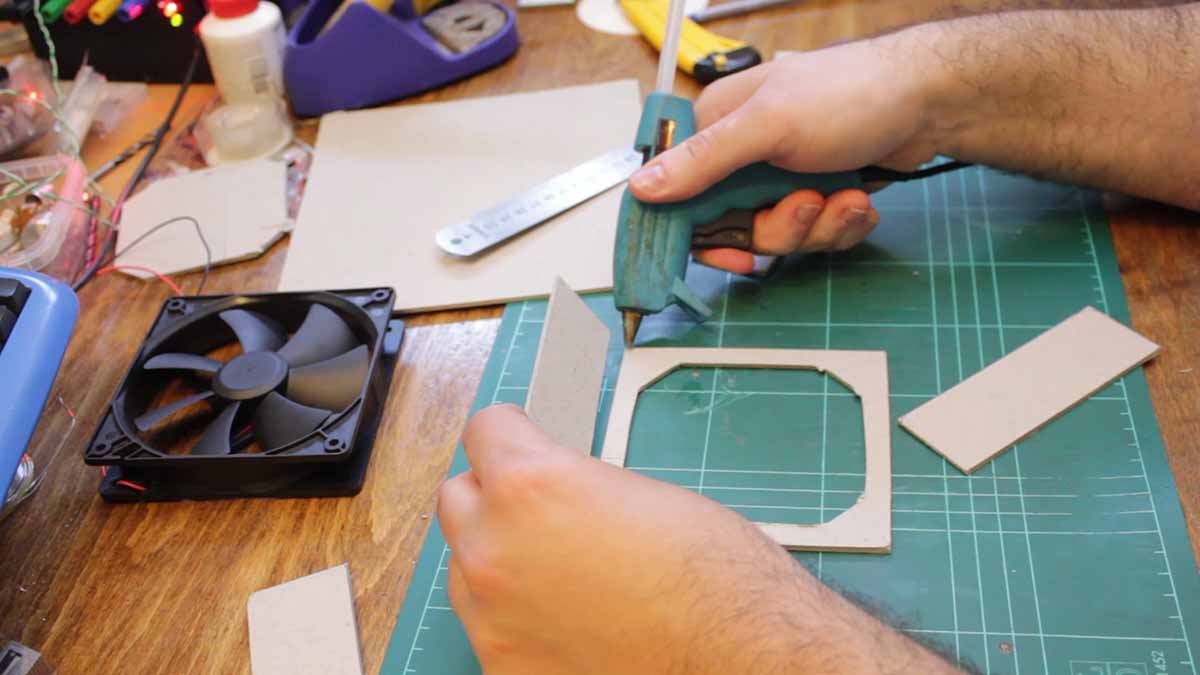
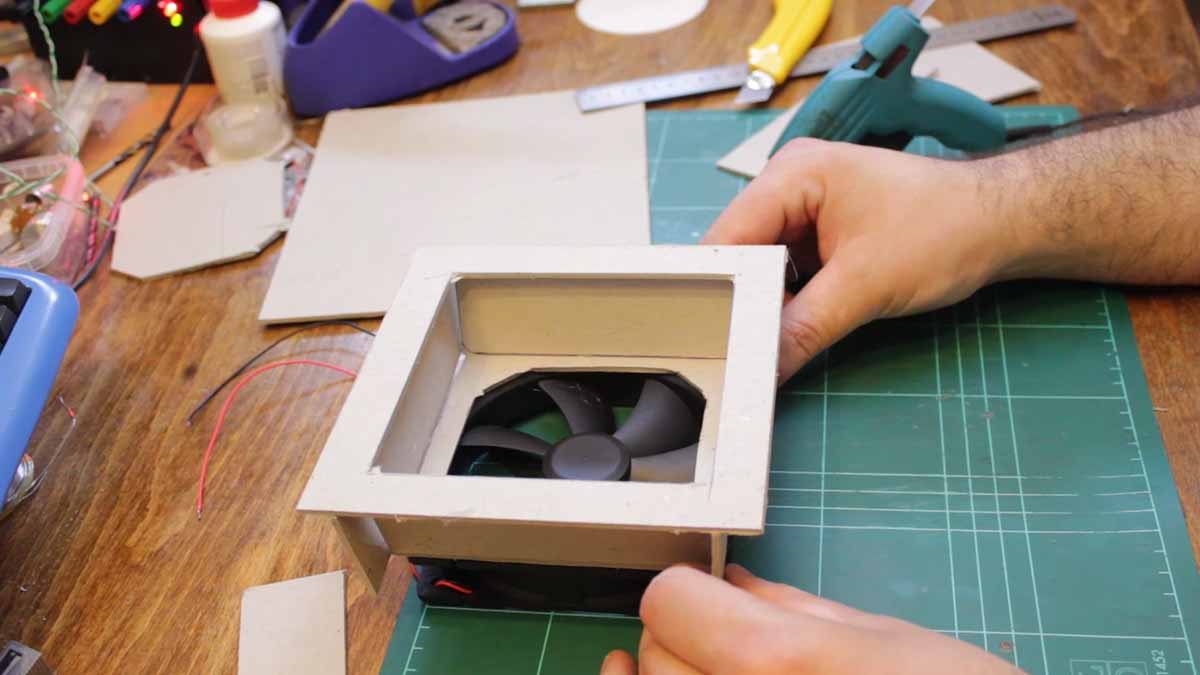
I then tack the other two side pieces in place and the structure is complete. I then add more hot glue all around the assembly to strengthen it. I then test fit it and make final adjustments.
Checking the air flow direction, I then glue the small square to the face of the fan on the side which will be pulling air away.
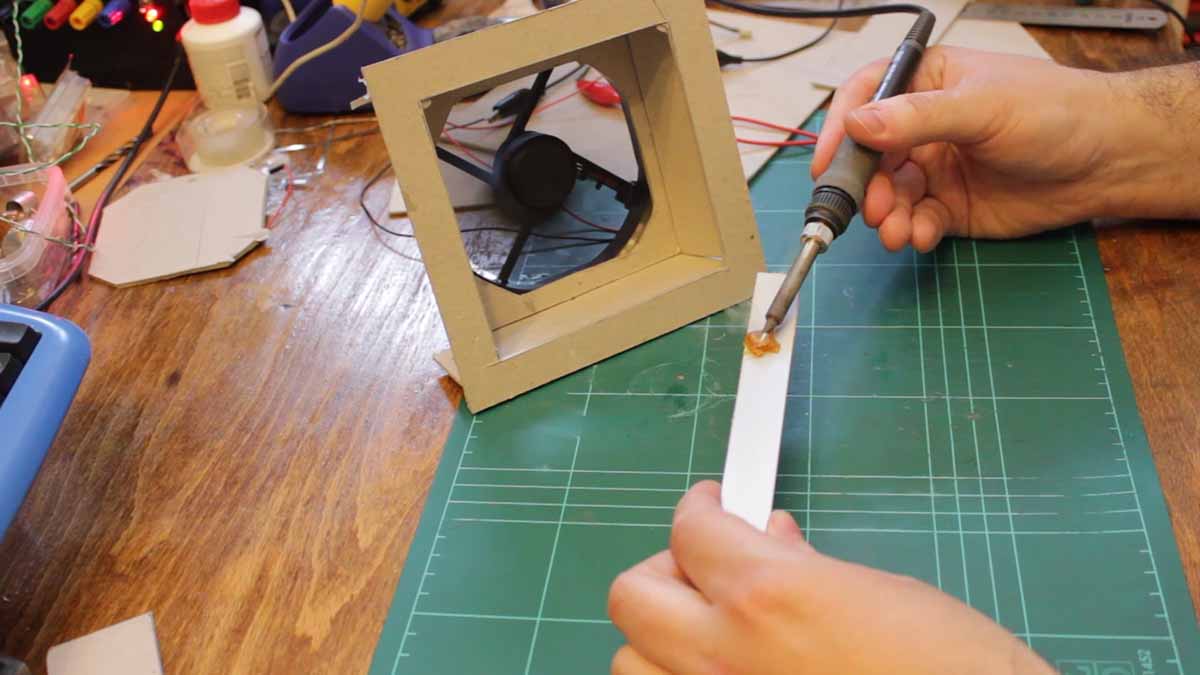
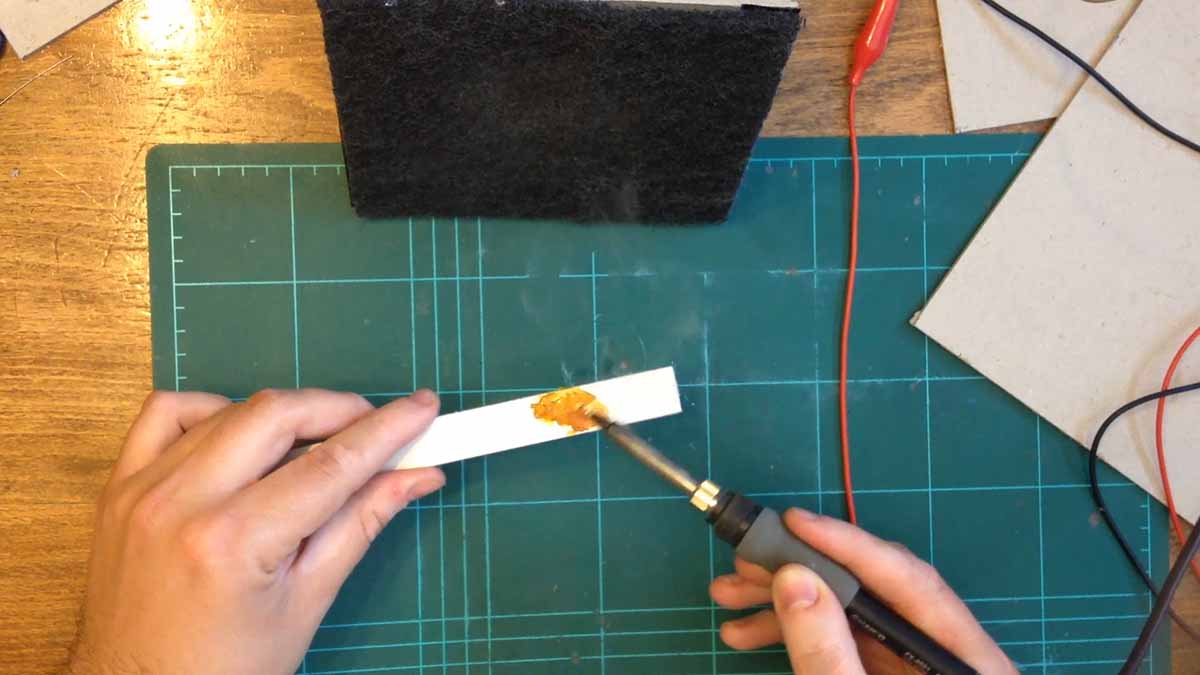
Once the glue hardened, I connected the fan to a 12V power supply (like a wall wart). I tested the air flow and the extraction power by using my soldering iron to melt or burn some thick flux paste. Contrary to popular belief, when soldering, you are not creating lead fumes. The fumes that are created are from the flux. Although not toxic, these fumes are an irritant and should be pulled away from you as you solder.
Now, if all you had was an old PC fan and some cardboard, you would be done. The fumes are effectively sucked away from you into the surrounding room. However, I decided to go a bit further and glued two strips of hook & loop fasteners (aka Velcro) to the face of the extractor. I used the hooks part of the fasteners (ie the harder of the two strips)
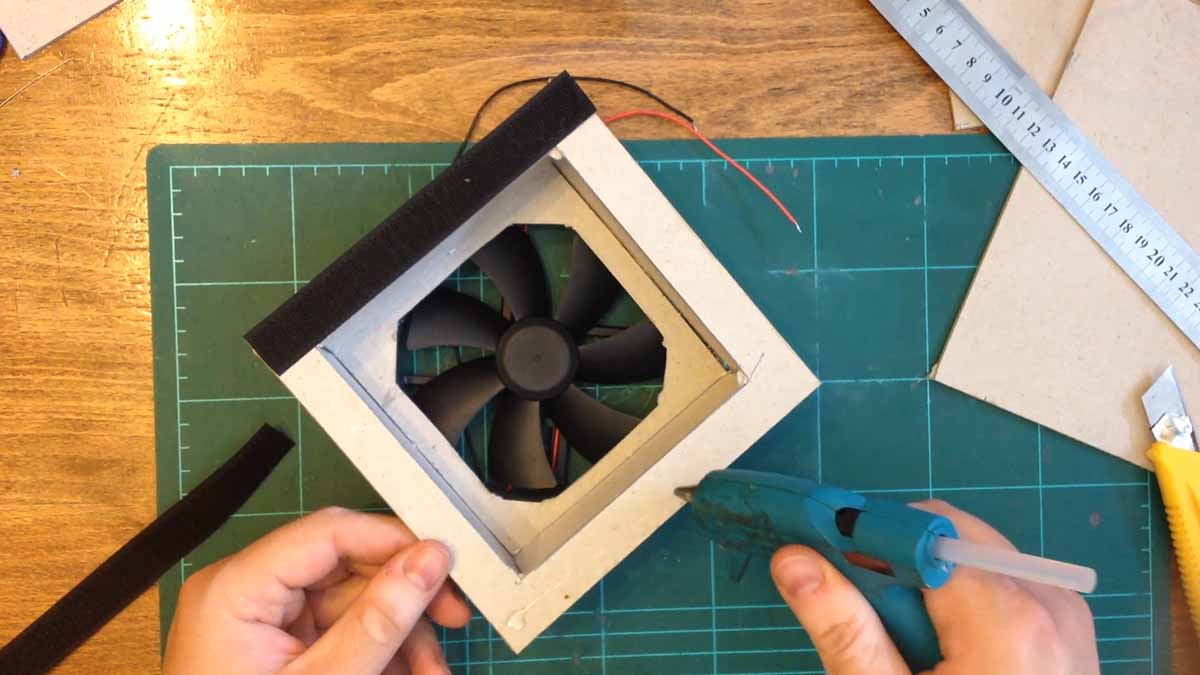
I then cut a piece of activated carbon filter that you can find at the hardware store in the appliance section. This filter is used for range / oven hoods and you can usually buy a larger piece. Also, this type of filter can be found in aquarium filters.
Adding this type of filter also makes sure that the fumes are trapped into the filter and not just blown around your work space. That’s the end of Part 1. In part two, I make a more sophisticated fume extractor made out of pcv with fan speed control and a power connector.