I bought this $25 oscilloscope DSO 138 Kit online to use in electronics projects. Many electronics enthusiast recommend getting a cheap oscilloscope for a first time user. This particular scope is both a kit that you can solder yourself and in the end a usable tool. Unfortunately, it only has 1 channel and the LCD screen is rather small. However for $25, shipping included, it was worth trying.
If you’re looking to buy your first DSO and don’t yet have that Dave Jones YouTube money, the DSO 138 might just be something to consider.
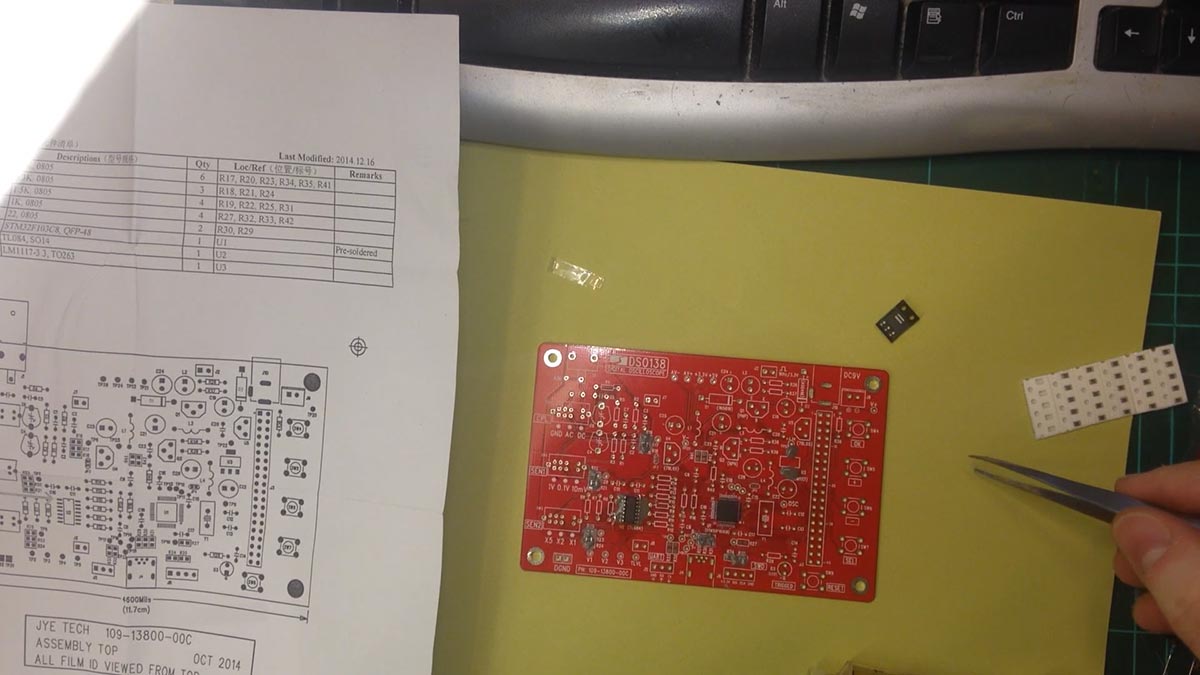
I decided to buy the without the SMD components soldered on the board so that I can do some surface mount soldering. Once I got the package unpacked, I started to apply solder paste to the pads. Afterwards, I put some extra flux in areas where I thought it was needed. With the solder paste in place, it was time to place all of the surface mount resistors and the chips using tweezers.
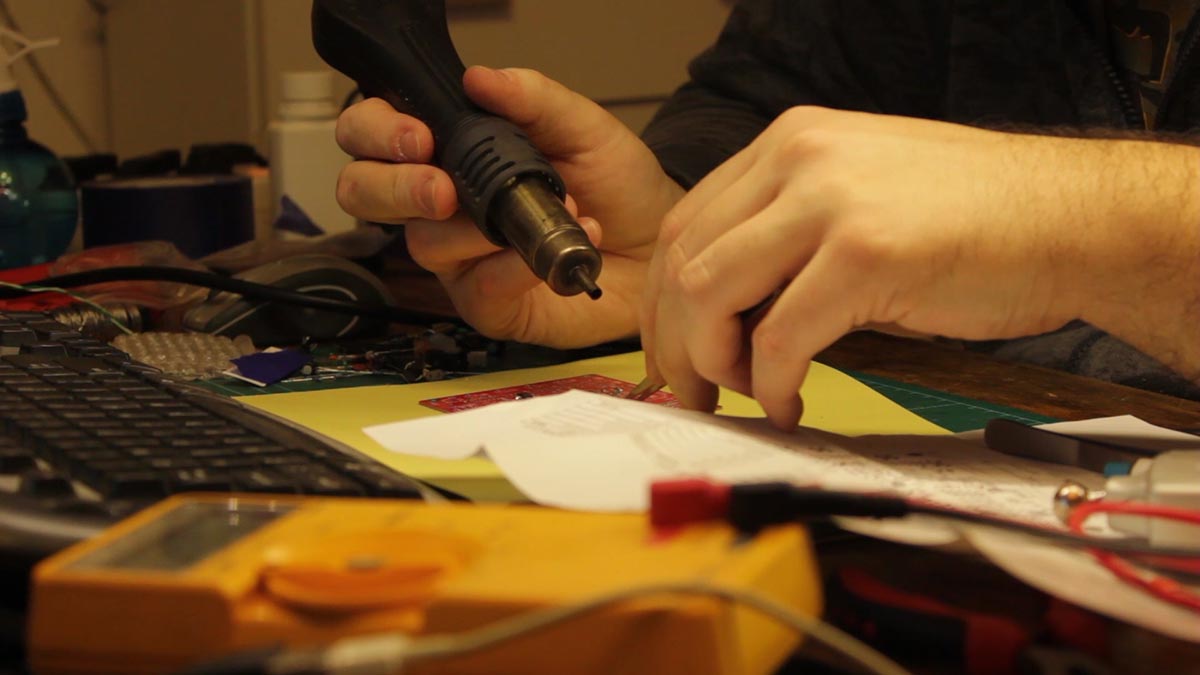
I started by slowly preheating the board with my hot air gun. Some of the resistors decided to fly about. In retrospect, I probably should have reflowed the board in an oven. With the board hot enough, I reflowed the components and adjusted accordingly.
Any component which tomb stoned or any pins that were shorted I corrected using my soldering iron. With the SMD part complete, I set about to prepare the through hole components. I soldered these in place and subsequently clipped the leads off.
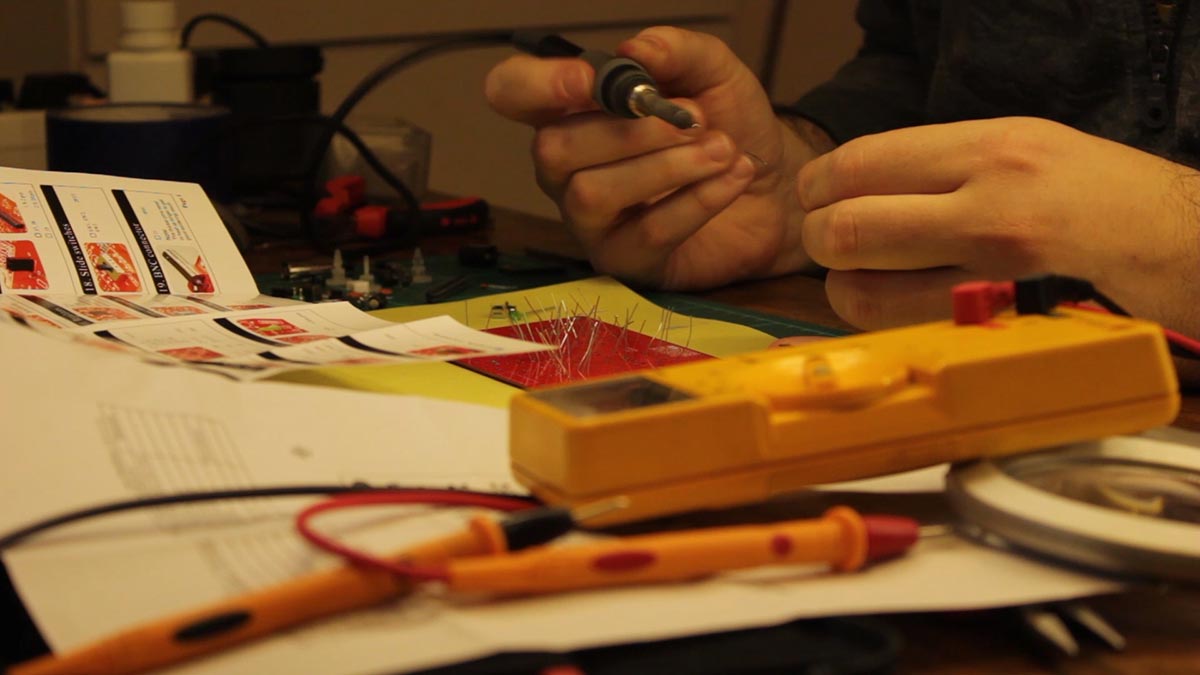
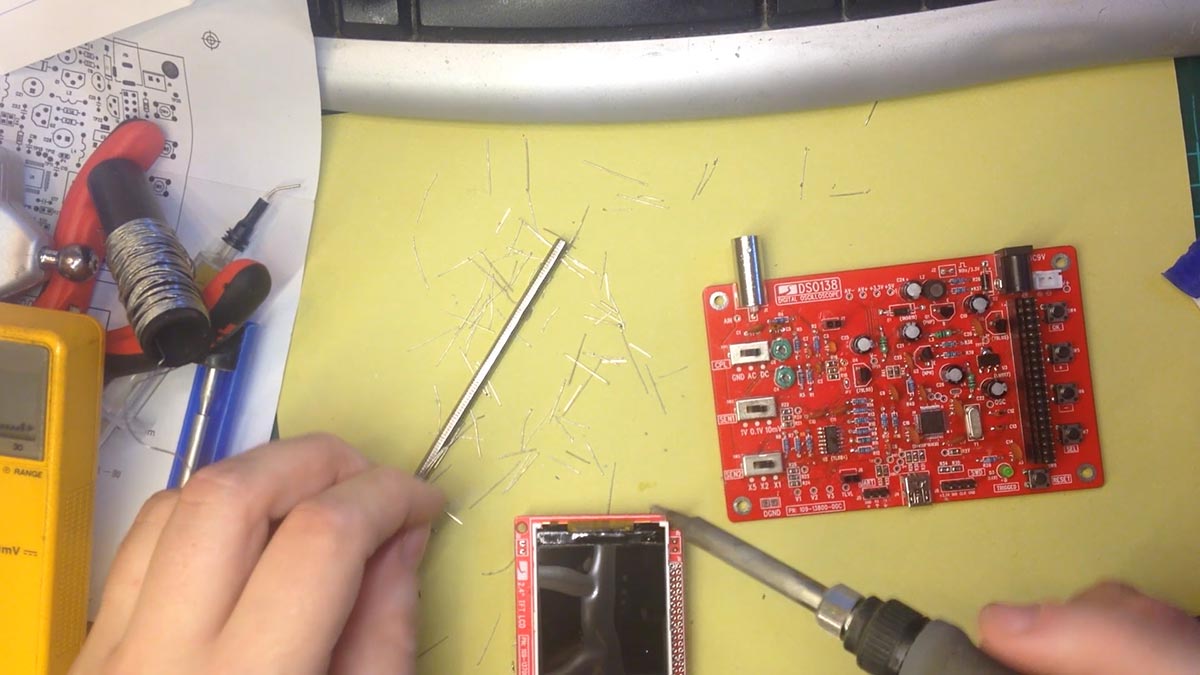
After most components were soldered, I then completed the headers for the LCD screen and various larger connectors. It was now time to solder the headers to the LCD screen.
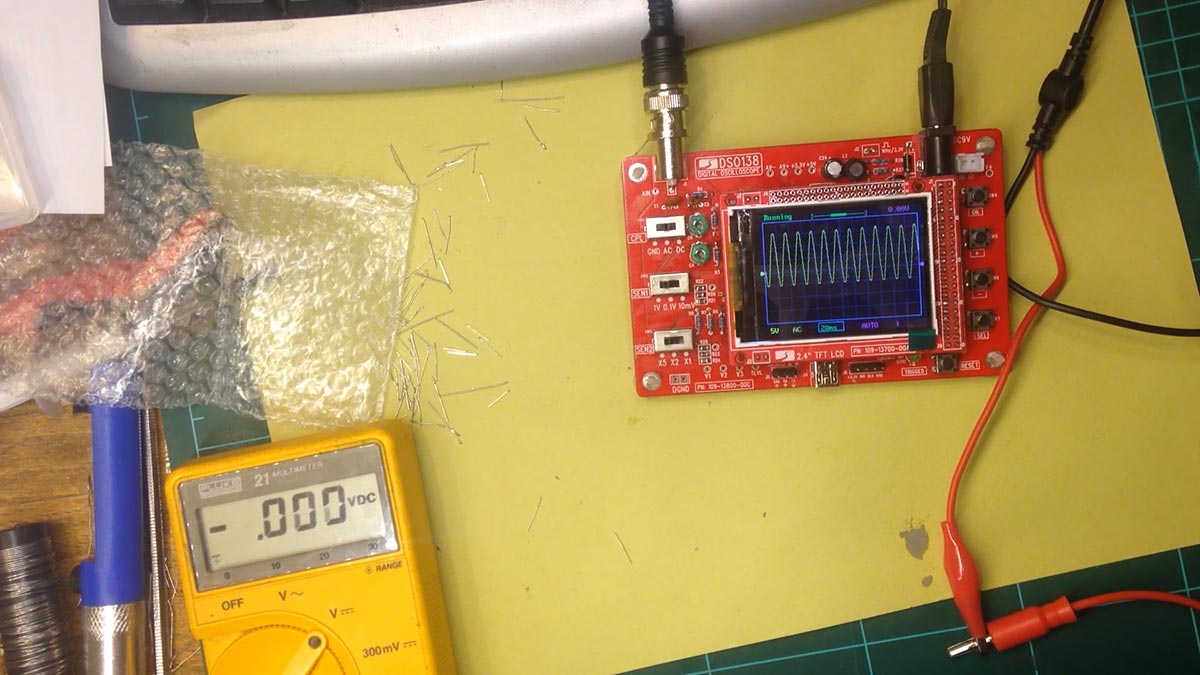
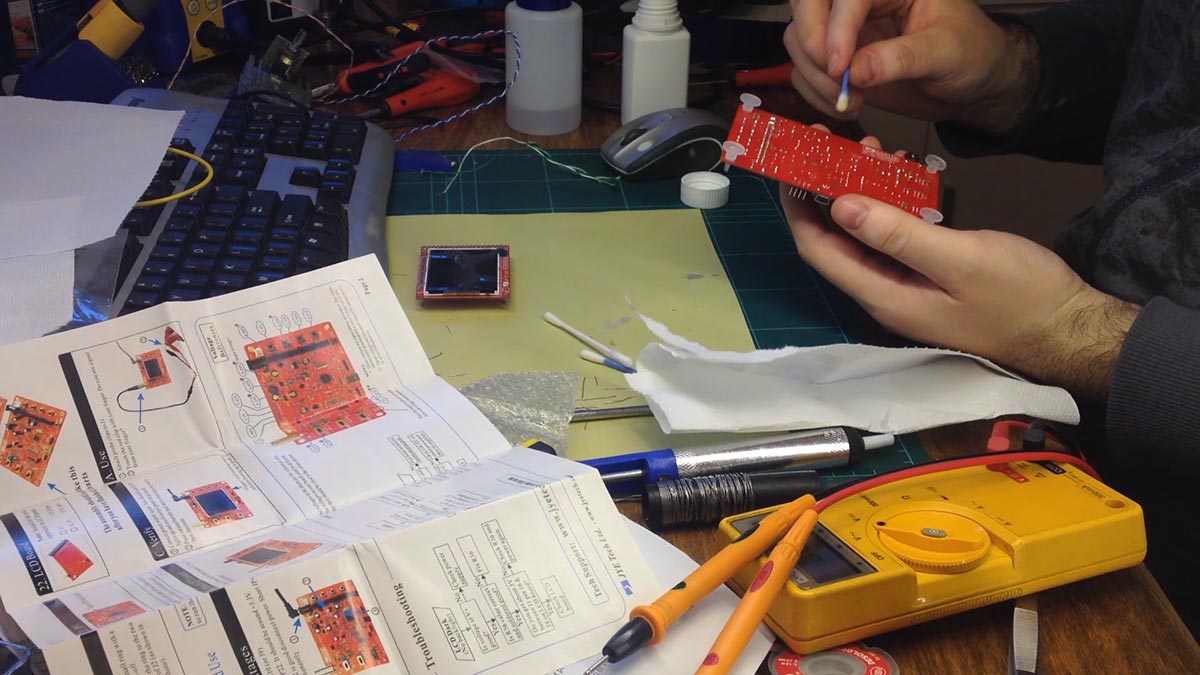
With the soldering complete, it was time to plug in the DSO 138 and verify that the build was successful by verifying the voltage at test pads on the board. Once everything looked like it was working, it was time to give the board a good clean using isopropyl alcohol to remove any excess solder flux.
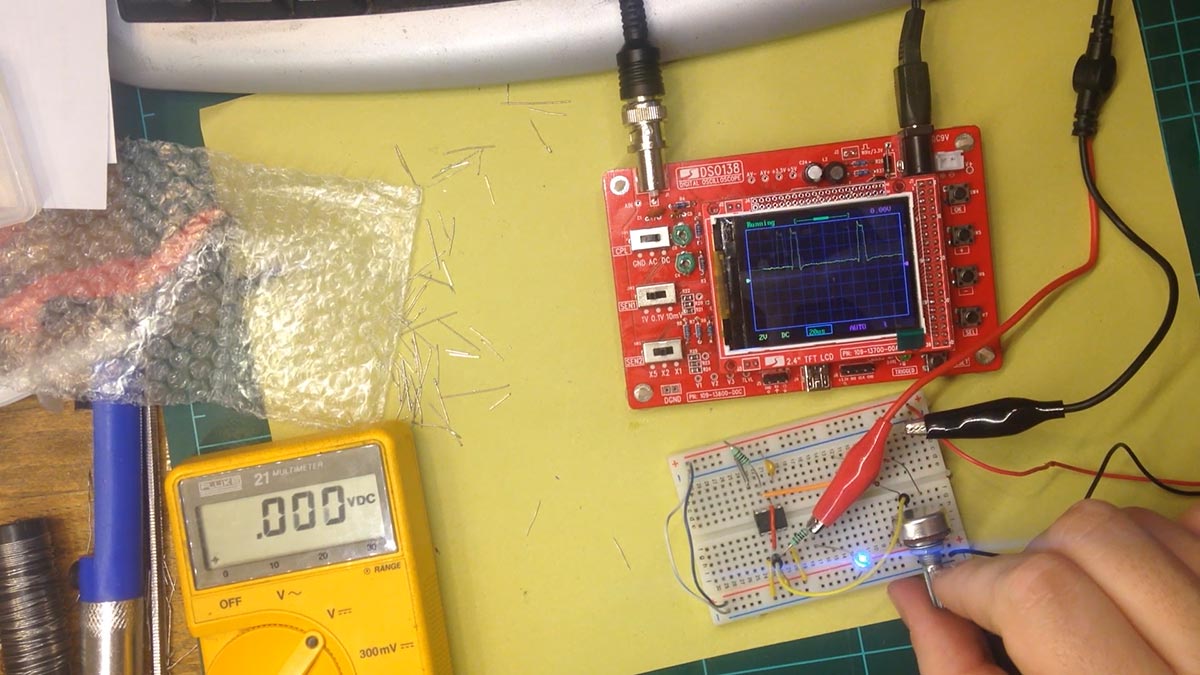
Finally, it was time to test the functionality. I quickly put together a PWM circuit using a 555 Timer and a potentiometer. The oscilloscope seems to work ok, it displays the PWM signal fine. I also tested the scope using the built in sine wave signal.
The Verdict
Should you buy this oscilloscope? Well, if you are a beginner in electronics, or don’t have much money to spend, I do recommend this scope. In a previous video, Dave Jones recommended buying a $50 Oscilloscope on eBay. This works for countries like the USA where there are many on eBay for sale and shipping via ground is cheap. However, if you can’t find an oscilloscope in your area with cheap shipping, it will cost you a fortune to have an old oscilloscope shipped. They weight a lot.
Here are some pros and cons of the DSO-138 oscilloscope kit.
Advantages:
- $25 dollars, shipped.
- It’s a kit so you get to solder the components yourself.
- It’s an oscilloscope with one channel that really works for a beginner
- It runs on 9V battery and fits in your pocket. You can take it anywhere
Disadvantages:
- Small screen difficult to see from a distance.
- Software is kind of crappy since you use buttons as opposed to knobs to adjust time base and divisions.
- Limited signal you can use (I think max 50V)
- Only 1 channel and the fact it needs 9V to run. I don’t know why they have a mini USB connector. I don’t know why it can’t use 5V.