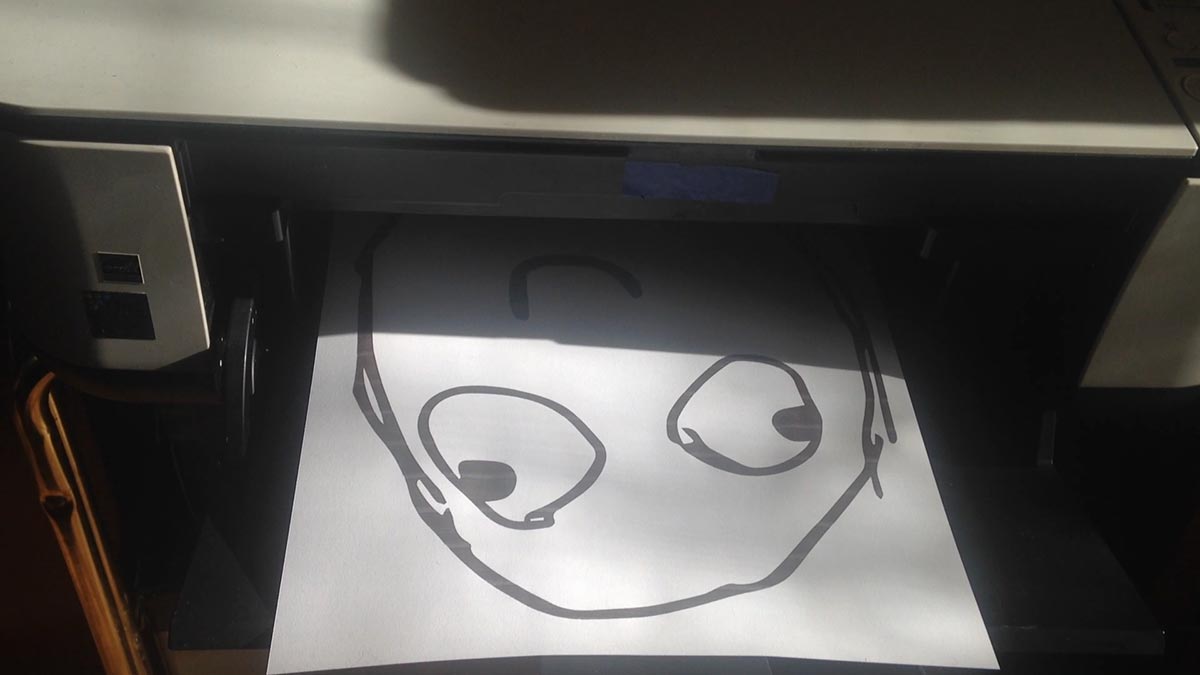
The first step is printing the design on a piece of paper using a regular home printer.
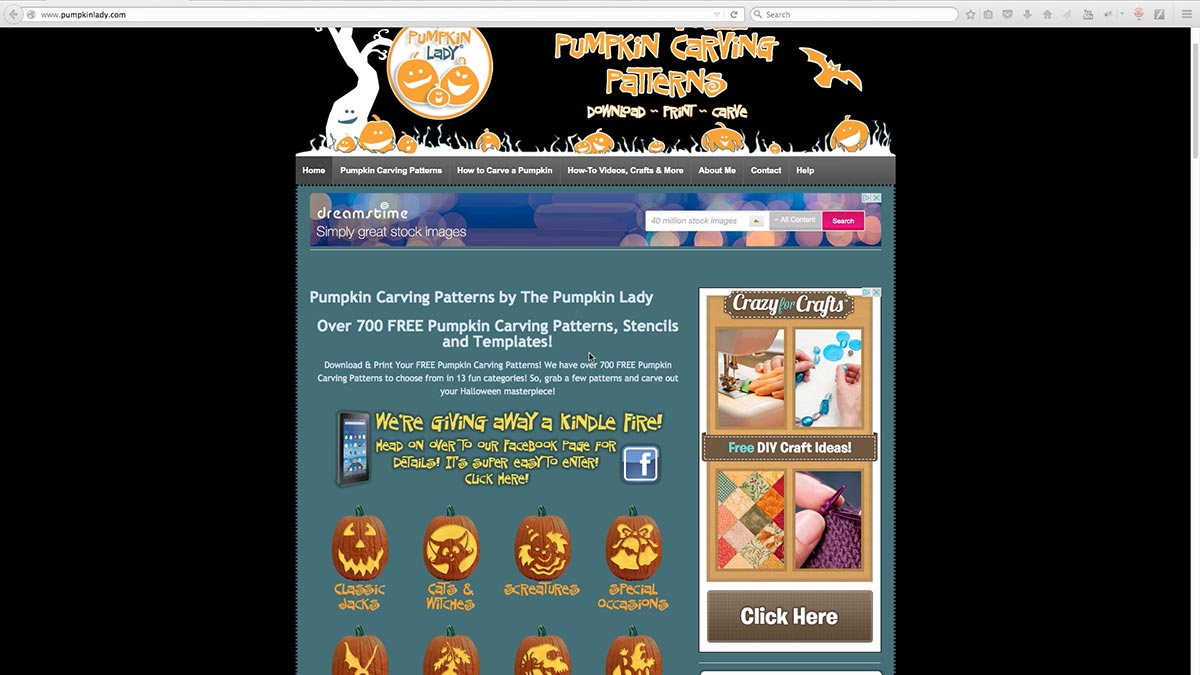
If you are looking for more traditional Jack O Lantern designs, I really recommend The Pumpkin Lady website. She has more than 700 pumpkin designs that are free to download and print together with helpful instructions. So check out her website, the link is available in the description.
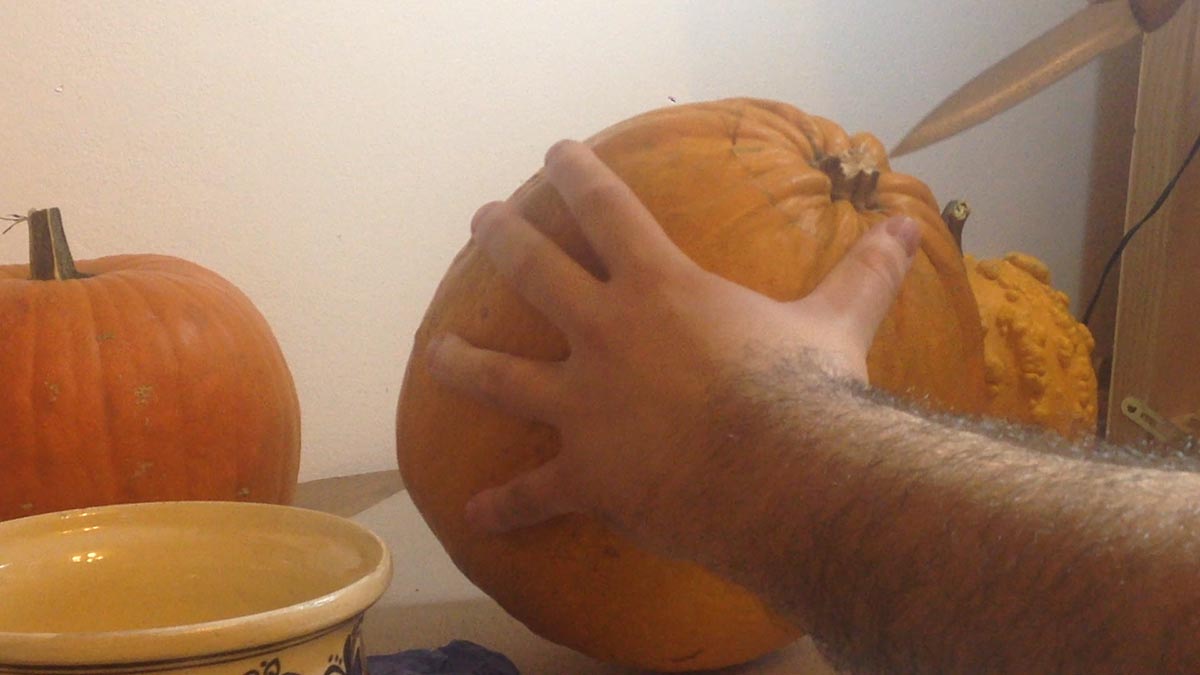
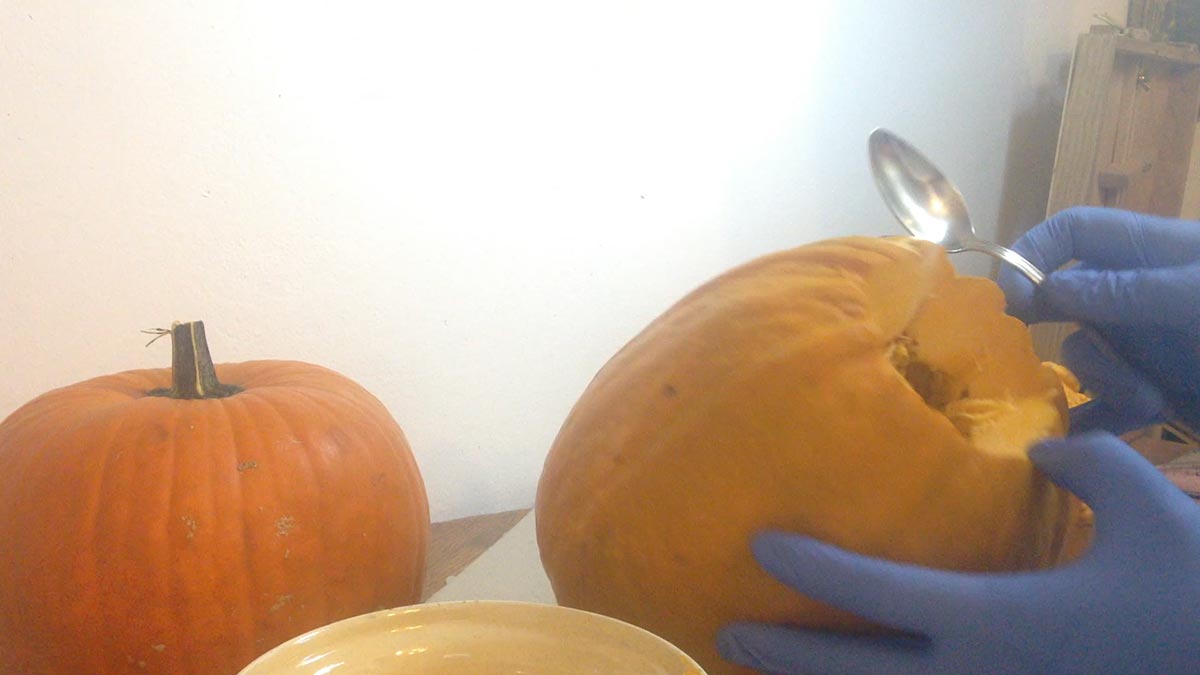
I first start by carving out the top of the pumpkin so that I can get to the insides and clean it out. You can use a regular kitchen knife for this part. I recommend that you make the hole just big enough so that your hand fits into the pumpkin interior.
Once I’ve cut out the top, I then proceed to empty the inside of the pumpkin by removing all the seeds and the bits of pumpkin fibers (guts if you will). I recommend that you put gloves on your hands as the insides tend to get sticky after a while. Make sure to scrape all the interior walls of the pumpkin as much as you can. It will help with the carving later on.
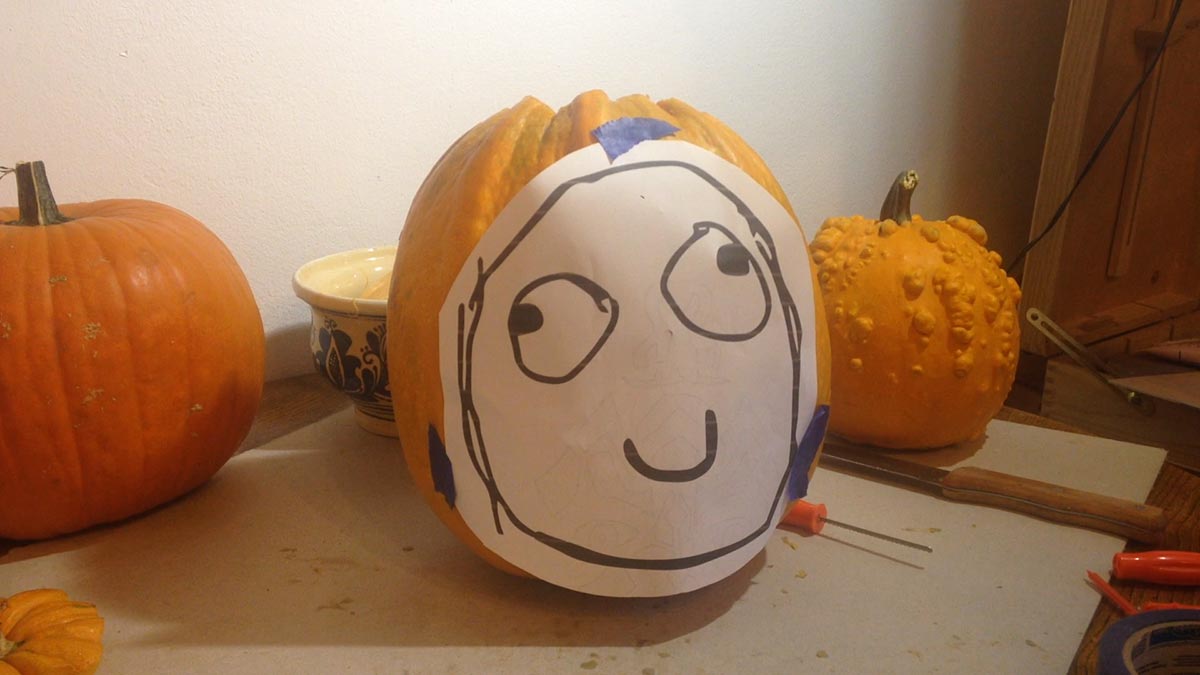
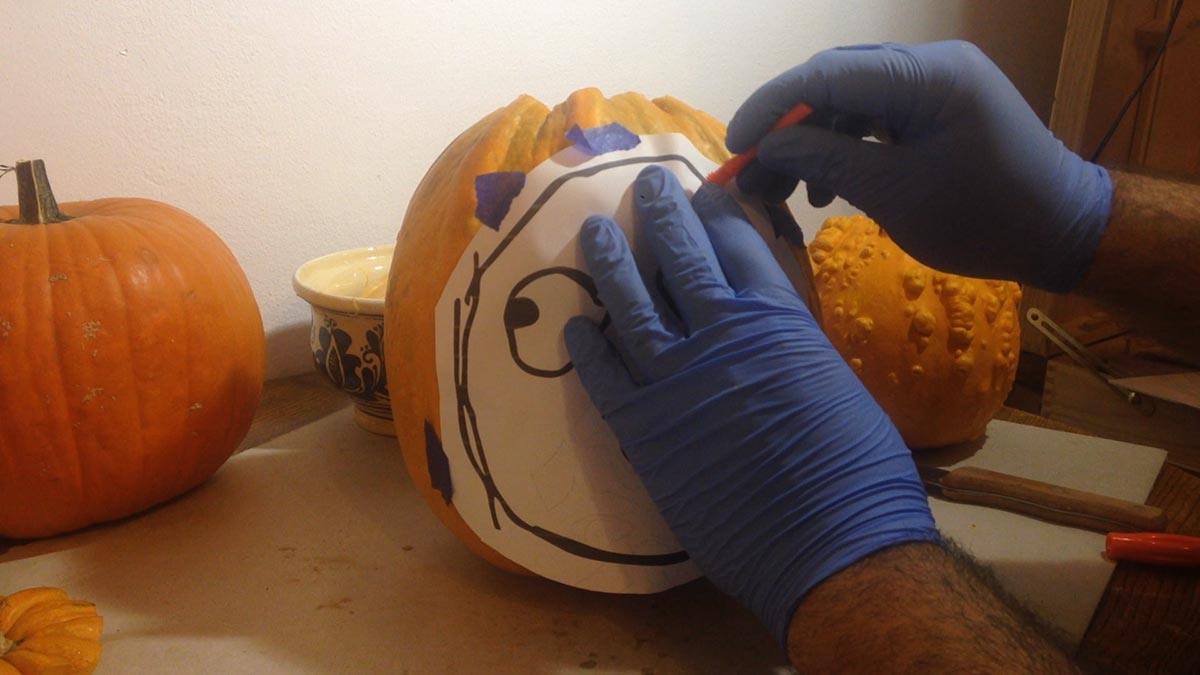
Now that I’ve finished emptying the pumpkin, it’s time to start working on the carving. I stick the printed image on the face of the pumpkin by attaching it with some painters tape. Regular masking tape would work as well. I then proceed by punching tiny holes in the pumpkin following the printed design. Your pumpkin carving set should have a small punching tool but you can also use a regular sewing needle or safety pin to make the holes.
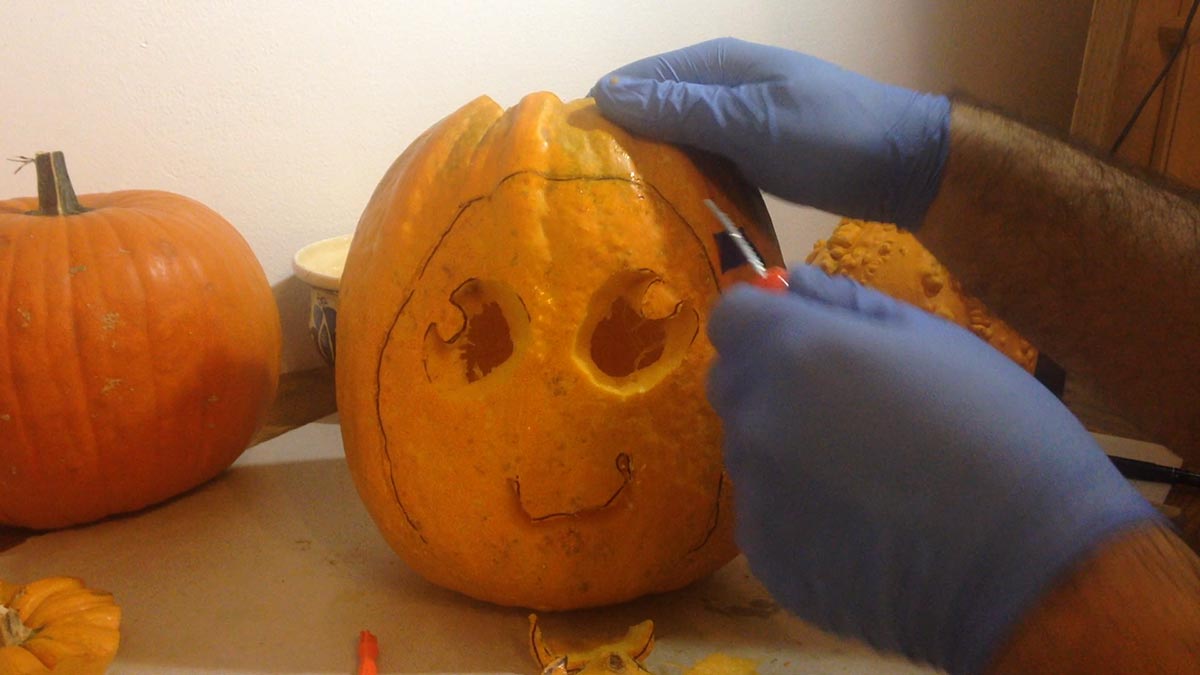
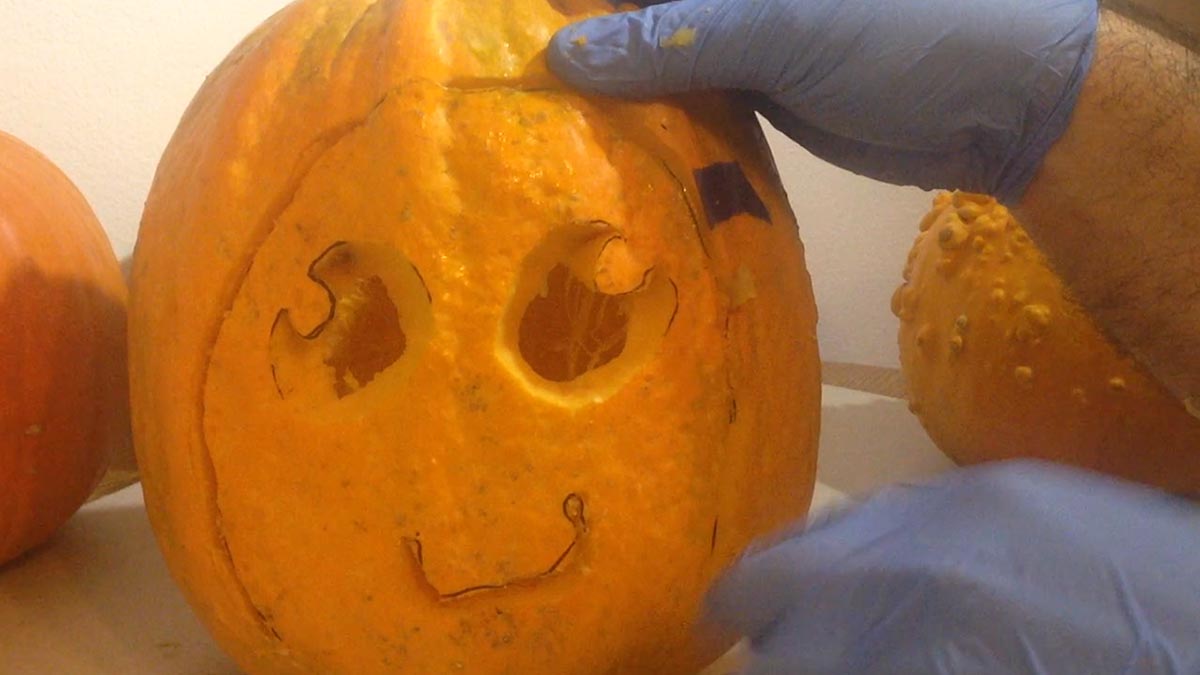
With the hole punching complete, I traced the outline with a marker as the small holes are difficult to see. I then began to carve the pumpkin using the small saw blade. You can use your regular kitchen knife or, if you have one, a serrated blade. Make sure to follow the design as close as you can.
With this design, I had to make sure that the bottom of the face remained attached to the pumpkin. If your design calls for a face to be traced, don’t forget to keep parts of the design attached to the pumpkin body.
Once all the carving was complete, I made small adjustments to make sure the light would shine through. I also did some more cleaning on the inside of the pumpkin walls.
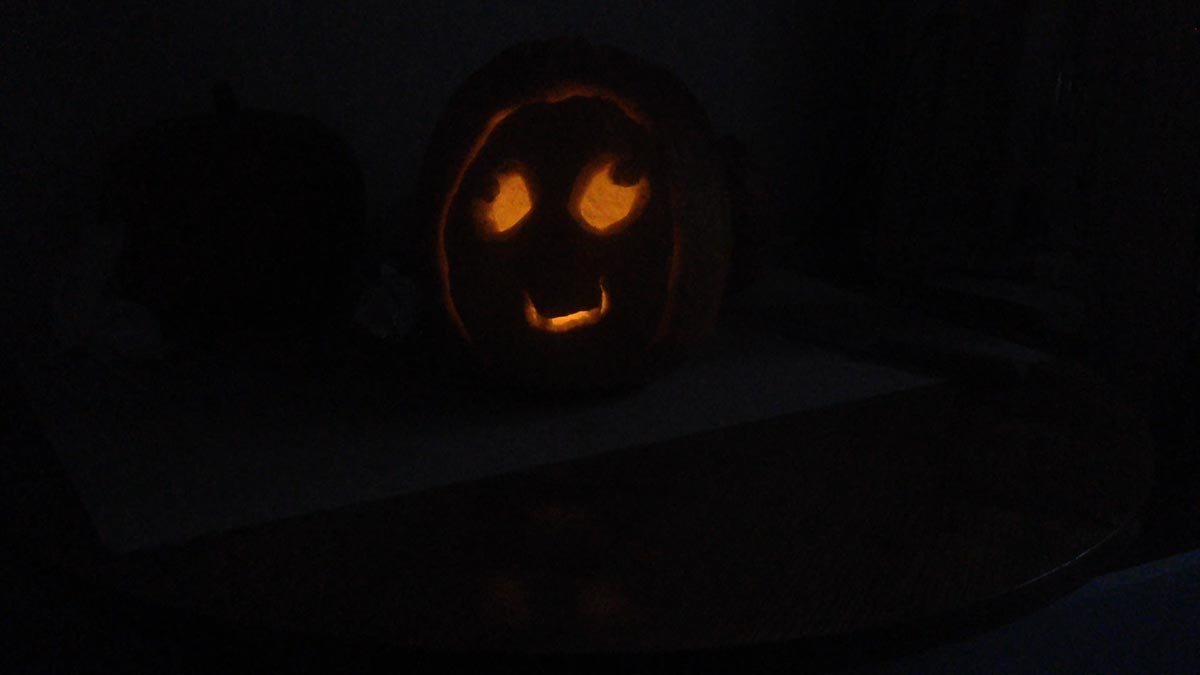
It was now time for the light. I chose these LED candles that flicker and simulate a traditional candle flame. You can usually find them at the dollar store or online very cheaply. They are kid friendly and safe to use as they are not on fire like traditional candles and don’t generate any smoke an d heat once inside the pumpkin.
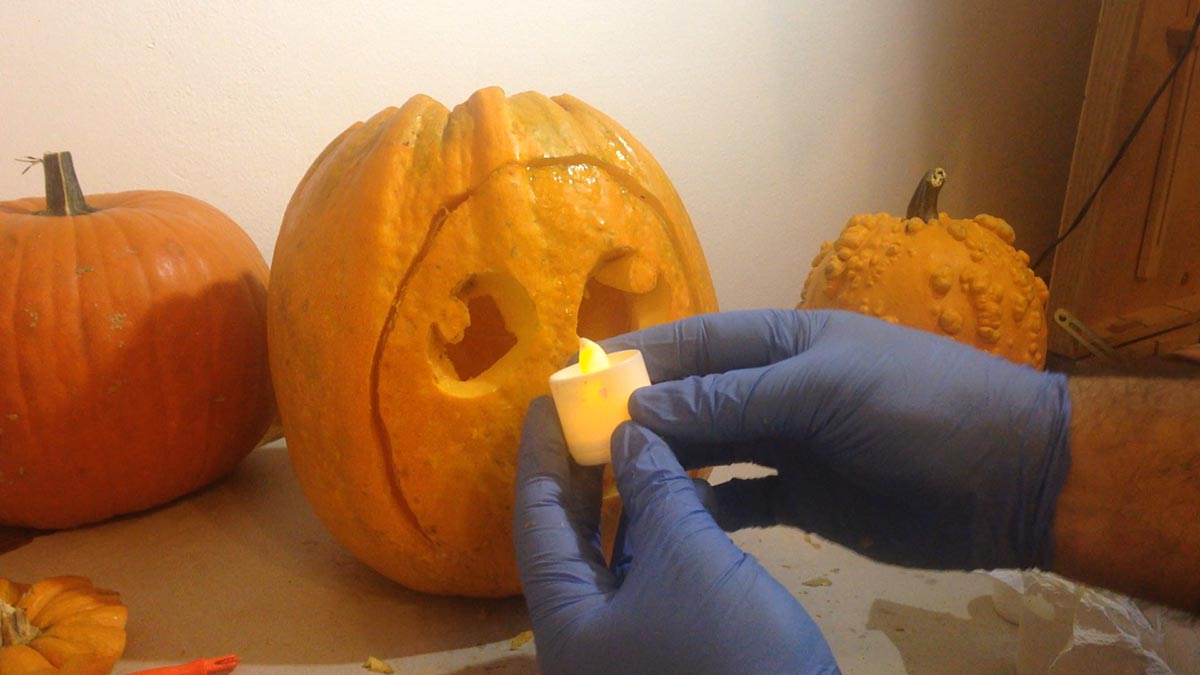
It was now time for the darkness test.The DERP is strong in this one! Go Derpkin!